
How to Test a Cordless Drill Battery: Easy Step-by-Step Guide
A cordless drill battery can seem fine when it comes off the charger yet lose power within minutes, refuse to charge, or make the drill feel much weaker than normal. When that happens, the problem could be the battery pack, charger, drill, dirty electrical contacts, or simply normal battery aging.
Learning how to test a cordless drill battery helps you determine which part is actually causing the problem before you spend money on a replacement. The simplest test involves checking the battery’s output voltage with a digital multimeter. However, voltage alone does not tell the whole story. A worn battery can show nearly normal voltage with no load and then drop sharply as soon as the drill starts working.
For a more useful diagnosis, combine a voltage check with charging observations and a practical runtime or load test. You should also consider the battery chemistry and rated voltage because modern lithium-ion packs behave differently from older nickel-cadmium and nickel-metal hydride batteries.
This guide explains how to test a cordless drill battery safely, how to read the results, how to identify a weak battery, and when replacement is the better option.
How to Test a Cordless Drill Battery
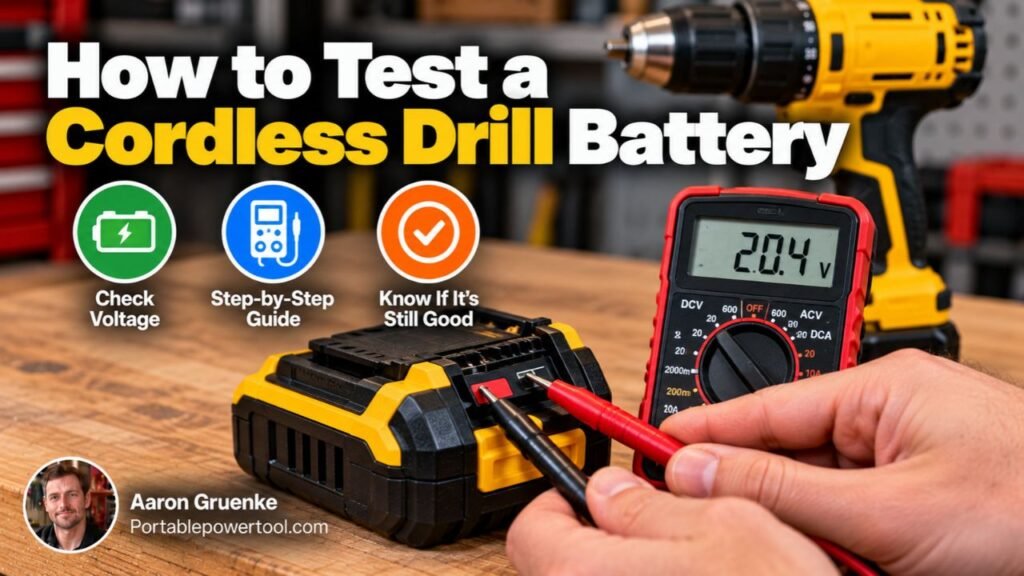
The easiest way to test a cordless drill battery is to fully charge it, measure its output voltage with a digital multimeter, and then see how it performs under load in the drill.
A basic test involves these steps:
- Fully charge the battery with the correct charger.
- Remove the battery from the charger and drill.
- Set a digital multimeter to DC voltage.
- Identify the battery’s positive and negative terminals.
- Touch the red probe to positive and the black probe to negative.
- Read the voltage displayed.
- Compare the reading with the expected voltage for the battery.
- Install the battery in the drill and test its performance under load.
If the battery voltage is significantly below its expected level after charging, or it falls quickly when the drill is used, the battery may be weak or failing.
Do not open a lithium-ion battery pack simply to test individual cells unless you are qualified to work on battery electronics. A damaged lithium-ion cell can create a fire or burn hazard.
What You Need to Test a Cordless Drill Battery
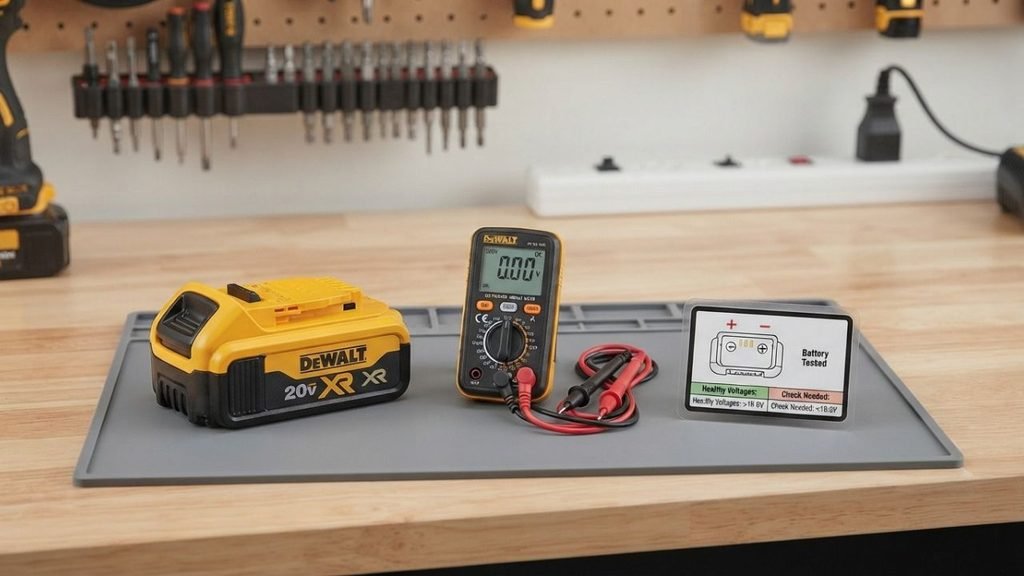
You do not need specialized equipment for a basic battery check.
The most useful items are:
- Digital multimeter
- Correct battery charger
- Cordless drill
- Known-good drill bit or driver bit
- Safety glasses
- Battery owner’s manual or specifications, if available
A multimeter is the most important tool because it lets you measure the battery’s electrical output directly.
For most homeowners, a basic digital multimeter with a DC voltage setting is sufficient.
Check the Battery Before Using a Multimeter
Before measuring voltage, inspect the battery physically.
Do not continue testing a battery that shows obvious signs of damage.
Look for:
- Cracks in the housing
- Swelling or bulging
- Melted plastic
- Burn marks
- Corroded terminals
- Liquid leakage
- Strong unusual odor
- Excessive heat
A swollen, leaking, burned, or badly damaged battery should not be charged or used.
Lithium-ion batteries can become hazardous when internally damaged. Keep a questionable battery away from combustible materials and follow the battery manufacturer’s disposal or service instructions.
Fully Charge the Battery First
For a meaningful test, start with a fully charged battery.
Place the battery on its correct charger and allow the charger to complete its normal cycle.
Pay attention to the charger indicators.
Depending on the model, indicator lights may show:
- Charging
- Fully charged
- Battery too hot or cold
- Battery fault
- Charger fault
The exact meaning of blinking or solid lights varies between manufacturers, so check the charger manual rather than assuming every flashing light means the battery is defective.
After charging, remove the battery and allow it to sit briefly before measuring it.
How to Test a Cordless Drill Battery With a Multimeter
A multimeter voltage test is the quickest way to determine whether the battery pack is producing electrical output.
Step 1: Find the Battery’s Rated Voltage
Look at the battery label.
You may see ratings such as:
- 12V
- 14.4V
- 18V
- 20V MAX
- 24V
- 36V
- 40V MAX
Keep in mind that the number printed on the pack may be either a nominal voltage or a maximum charged voltage, depending on the manufacturer.
For example, an 18V nominal lithium-ion pack typically contains five lithium-ion cells connected in series. Each cell is approximately 3.6V nominal, resulting in about 18V nominal pack voltage.
When fully charged, those cells can be around 4.2V each, giving the pack approximately 21V with no load.
That is why some tool systems are marketed as 18V while others using a similar five-cell arrangement may be labeled 20V MAX.
Step 2: Set the Multimeter to DC Voltage
Turn the multimeter selector to the DC voltage setting.
DC may be marked with a V and a straight line.
Choose a measurement range above the expected battery voltage if your multimeter does not automatically select its range.
For example, if testing an 18V battery with a manual-ranging meter, a 20V or higher DC range may be appropriate depending on the meter.
Step 3: Identify Positive and Negative Terminals
Cordless drill batteries often have several electrical contacts.
The main power contacts are usually marked:
- Positive (+)
- Negative (−)
There may also be additional terminals used for:
- Temperature monitoring
- Battery communication
- Charging control
- Cell monitoring
Use only the main positive and negative terminals for a basic voltage measurement unless the manufacturer specifies otherwise.
Step 4: Place the Multimeter Probes on the Terminals
Touch the red multimeter probe to the positive terminal.
Touch the black probe to the negative terminal.
Hold the probes carefully so they do not touch each other while contacting the battery.
Shorting the positive and negative battery terminals with metal can produce extremely high current.
Step 5: Read the Voltage
The multimeter should display the battery’s output voltage.
If you accidentally reverse the probes, many digital meters simply show a negative value. For example, 19.5V may appear as −19.5V.
Reverse the probes to obtain the normal reading.
What Voltage Should a Cordless Drill Battery Read?
The expected voltage depends on the battery chemistry and how the manufacturer labels the pack.
For common lithium-ion packs, approximate fully charged voltages can be estimated from the number of cells connected in series.
| Common Battery Rating | Typical Lithium-Ion Cell Arrangement | Approximate Full-Charge Voltage |
| 12V MAX | 3 cells | 12.6V |
| 14.4V nominal | 4 cells | 16.8V |
| 18V nominal / 20V MAX | 5 cells | 21V |
| 36V nominal / 40V MAX | 10 cells | 42V |
These figures are general examples rather than universal specifications.
Battery electronics, pack design, measurement conditions, and manufacturer labeling can affect the reading.
The safest comparison is always the specification provided for your exact battery model.
What Does a Low Voltage Reading Mean?
A noticeably low voltage reading after a full charging attempt may indicate:
- Battery is not actually charging
- One or more internal cells are weak
- Battery management circuitry has shut the pack down
- Charger is malfunctioning
- Battery is deeply discharged
- Battery has reached the end of its useful life
However, a voltage reading by itself cannot confirm battery capacity.
For example, an aging battery may still measure close to normal voltage immediately after charging while storing very little usable energy.
That is why you should perform a load or runtime test as well.
Why Voltage Alone Cannot Tell You Battery Health
Think of battery voltage somewhat like checking the pressure in a water system.
The pressure may look normal when nothing is flowing. Once you start demanding significant flow, the system may no longer maintain it.
A weak drill battery can behave similarly.
With no load, the multimeter might show a reasonable voltage. When the drill motor draws substantial current, the battery voltage may drop quickly.
This is called voltage sag.
Some voltage drop under load is normal. Excessive voltage drop, rapid shutdown, or dramatic loss of drill power can indicate a weak battery.
How to Perform a Simple Load Test
You can perform a basic real-world load test using the drill itself.
1. Fully Charge the Battery
Make sure the battery has completed a normal charging cycle.
2. Install It in the Drill
Attach the battery securely.
3. Run the Drill Without a Load
Pull the trigger and listen to the motor.
The drill should reach normal speed without hesitation.
If it immediately slows, stops, or triggers a low-battery warning, the battery may be weak.
4. Test the Drill Under a Normal Working Load
Use the drill for a normal task appropriate for the tool, such as drilling into scrap wood with a suitable drill bit.
A healthy battery should provide stable power.
Watch for:
- Severe speed loss
- Battery shutting off quickly
- Very short runtime
- Rapid battery gauge drop
- Unusual heating
Do not intentionally stall the drill as a battery test. Deliberately overloading the drill can stress the motor, battery, and electronic controls.
Compare the Battery With a Known-Good Battery
If you own two compatible batteries, comparison testing can make diagnosis much easier.
Charge both batteries fully and install them in the same drill.
Perform the same type of work with each battery.
If one battery provides normal power and runtime while the other dies quickly, the drill itself is probably not the primary problem.
The weaker battery is the more likely cause.
This comparison can also help distinguish between a defective charger and battery.
Test the Battery After It Has Been Sitting
Another useful test checks self-discharge.
Charge the battery fully and measure its voltage.
Leave it disconnected from the tool and charger for a reasonable period, then measure it again.
Modern lithium-ion batteries normally hold their charge well when stored properly.
If the pack loses a large amount of charge while sitting unused, it may have:
- Failing cells
- Internal leakage
- Battery-management problems
Remember that some battery packs contain electronics that consume a small amount of power even while stored.
How to Tell Whether the Battery or Charger Is Bad
A battery that will not charge does not automatically mean the battery is defective.
The charger could be the problem.
Signs that may point toward a charger issue include:
- Multiple batteries fail to charge on the same charger.
- Charger produces no lights or indicators.
- Charger behaves abnormally with a known-good battery.
- Battery charges normally on another compatible charger.
If several batteries work poorly only with one charger, inspect the charger more closely.
Do not test charger circuitry internally unless you are qualified to work around electrical equipment.
Clean the Battery Contacts
Sometimes poor performance comes from dirty electrical contacts rather than failing cells.
Inspect the contacts on:
- Battery
- Drill
- Charger
Dust, oxidation, grease, or debris can interfere with electrical connection.
Disconnect the battery before cleaning.
Use a dry cloth or cleaning method approved by the manufacturer.
Do not insert metal tools between battery terminals because accidentally bridging the terminals can cause a short circuit.
How to Test a Battery’s Remaining Capacity
Voltage testing tells you whether a battery is producing the expected electrical potential, but capacity tells you how much energy it can actually store.
Battery capacity is commonly rated in amp-hours (Ah).
For example:
- 1.5 Ah
- 2.0 Ah
- 4.0 Ah
- 5.0 Ah
- 6.0 Ah
As lithium-ion cells age, usable capacity normally decreases.
A battery may therefore:
- Charge normally
- Show reasonable voltage
- Run the drill normally at first
- Discharge much sooner than it did when new
Accurately measuring capacity requires controlled discharge equipment and appropriate procedures.
For most homeowners, comparing practical runtime with another battery is easier and safer than attempting a laboratory-style capacity test.
Signs Your Cordless Drill Battery Is Going Bad
Battery failure is not always sudden.
Common signs of an aging or defective battery include:
- Runtime is much shorter than before.
- Battery will not reach a full charge.
- Battery shows charged but dies quickly.
- Drill stops during moderate work.
- Battery requires increasingly frequent charging.
- Battery gets unusually hot during normal use or charging.
- Charger repeatedly reports a battery fault.
- Battery loses charge rapidly while stored.
One symptom alone does not always confirm failure, but several appearing together make battery degradation more likely.
What If the Battery Shows Zero Volts?
A zero or near-zero reading does not necessarily mean every internal cell has zero voltage.
Many modern lithium-ion packs use a battery management system (BMS) or protective electronics.
The protection circuit may disconnect the external terminals if it detects problems such as:
- Excessive discharge
- Overcurrent
- Excessive temperature
- Cell imbalance
- Internal fault
Do not try to bypass these safety protections or apply uncontrolled voltage directly to the battery terminals.
If a lithium-ion pack will not charge using the correct manufacturer-approved charger, professional service or replacement is generally safer than attempting to force-charge it.
Can You Test Individual Cells Inside the Battery?
Technically, individual cells can be measured, but accessing them requires opening the battery pack.
That is not recommended for a routine homeowner battery test.
Lithium-ion battery packs can contain high-current cells and exposed conductive connections. Accidental short circuits can cause intense heat, sparks, burns, or fire.
Opening the battery may also damage the battery management system or void applicable warranty coverage.
For basic troubleshooting, keep the battery intact and test from the external terminals.
Testing Older NiCd and NiMH Drill Batteries
Older cordless drills may use nickel-cadmium (NiCd) or nickel-metal hydride (NiMH) battery packs rather than lithium-ion.
These batteries have different cell voltages and charging characteristics.
A NiCd or NiMH cell is generally rated around 1.2V nominal.
For example, a 12V nominal battery pack may contain approximately ten 1.2V cells connected in series.
Age-related problems may include:
- Reduced capacity
- Increased self-discharge
- Weak individual cells
- Difficulty maintaining voltage under load
Use the battery manufacturer’s specifications when evaluating older packs rather than applying lithium-ion voltage expectations.
Battery Temperature Can Affect Your Test
Battery performance changes with temperature.
A battery that is extremely hot or cold may:
- Refuse to charge temporarily
- Provide reduced power
- Trigger electronic protection
- Show unusual performance
Many modern chargers delay charging until the battery reaches an acceptable temperature range.
If a battery has just been heavily used and feels hot, allow it to return to a normal temperature before retesting it.
Likewise, a battery stored in a very cold garage may behave differently until it warms naturally to an appropriate operating temperature.
Common Mistakes When Testing Cordless Drill Batteries
Testing an Almost-Empty Battery
A discharged battery naturally shows lower voltage.
Charge it first if you are evaluating battery condition.
Using the Wrong Multimeter Setting
The drill battery produces DC power.
Make sure the meter is set for DC voltage, not AC voltage or current measurement.
Shorting the Battery Terminals
Never connect the positive and negative terminals directly together.
A cordless tool battery can deliver very high current.
Assuming Good Voltage Means a Good Battery
A weak battery may still show reasonable open-circuit voltage.
Always consider runtime and performance under load.
Opening a Lithium-Ion Pack Unnecessarily
You usually do not need to access individual cells to diagnose an everyday drill battery problem.
Using an Incorrect Charger
Only use a charger approved for the battery system.
Even batteries with similar voltage ratings may use different charging electronics and communication systems.
Should You Try to Revive a Dead Drill Battery?
Be cautious with internet methods that claim to “jump-start,” “boost,” or force-charge dead lithium-ion batteries.
A battery management system may have disabled the pack because the cells are outside safe operating conditions.
Bypassing that protection can create unnecessary risk.
The safer approach is:
- Use the correct charger.
- Confirm the charger works.
- Clean the contacts.
- Test battery output.
- Follow manufacturer troubleshooting guidance.
- Replace or professionally service the battery if it remains defective.
Do not connect random power supplies, car batteries, or another tool battery directly to a lithium-ion battery pack.
When Should You Replace the Battery?
Replacement is usually reasonable when the battery consistently provides very short runtime, cannot complete a normal charge, shuts down repeatedly under modest loads, or has visible physical damage.
A replacement may also make more sense than repair when the pack is old and has lost a large portion of its original usable capacity.
When replacing the battery, verify:
- Tool compatibility
- Voltage
- Battery platform
- Charger compatibility
- Capacity rating
- Manufacturer requirements
A battery that physically fits a tool is not automatically electrically compatible with it.
How to Make a Cordless Drill Battery Last Longer
Good battery habits can reduce unnecessary wear.
For lithium-ion drill batteries:
- Use the correct charger.
- Avoid leaving the battery in extreme heat.
- Do not intentionally run the battery far beyond normal low-charge shutdown.
- Allow an overheated battery to cool before charging.
- Keep electrical contacts clean.
- Protect the pack from impacts and water.
- Store batteries according to manufacturer recommendations.
- Avoid using damaged packs.
Heat is particularly hard on lithium-ion cells, so keeping batteries out of very hot vehicles or direct summer sun can help preserve battery life.
FAQs About How to Test a Cordless Drill Battery
Can I test a cordless drill battery with a multimeter?
Yes. A digital multimeter can measure the battery’s output voltage through its positive and negative terminals.
However, voltage alone does not confirm battery capacity or overall health. A practical load or runtime test provides additional information.
What should an 18V drill battery read when fully charged?
A typical five-cell lithium-ion battery labeled 18V nominal can measure approximately 21V immediately after a full charge.
Exact readings vary by battery design, condition, and manufacturer, so compare your measurement with the specifications for your particular battery.
Is a 20V battery supposed to measure exactly 20 volts?
Not necessarily.
Many batteries marketed as 20V MAX use five lithium-ion cells in series and may reach approximately 21V at full charge before settling somewhat.
The 20V label commonly refers to maximum system voltage rather than the battery’s nominal operating voltage.
Why does my battery show full voltage but die quickly?
The battery may have lost capacity or developed increased internal resistance.
It can still produce normal voltage when no load is attached but experience substantial voltage sag when the drill draws current.
A practical runtime test can reveal this problem better than an open-circuit voltage test.
How do I know if my drill battery or charger is bad?
Try another compatible battery or charger if available.
If multiple batteries fail on one charger, the charger may be the problem. If one battery fails while another charges and operates normally, the battery is more likely defective.
Can I test a drill battery while it is connected to the drill?
A basic open-circuit voltage test should normally be performed with the battery removed.
Testing voltage under load is possible with specialized setups, but it is unnecessary for most basic troubleshooting and can expose electrical contacts. A practical drill runtime test is usually simpler.
Can a cordless drill battery be bad even if the charger says it is full?
Yes.
An aging battery may reach its charging voltage quickly but have much less usable capacity than it originally had.
It may therefore show “full” and then discharge rapidly during use.
Is it safe to open a cordless drill battery to test the cells?
Opening a lithium-ion battery pack is not recommended for routine testing.
Internal cells and metal connections can deliver very high current if accidentally shorted. Testing the external terminals and evaluating actual drill performance are safer options for most users.
Conclusion
Knowing how to test a cordless drill battery does not require complicated equipment. Start by inspecting the battery, fully charging it, and measuring the positive and negative terminals with a digital multimeter set to DC voltage. Then test the battery in the drill to see whether it can maintain normal power and runtime under load.
Remember that a normal voltage reading does not automatically mean the battery is healthy. Batteries can lose capacity and develop excessive voltage drop while still appearing normal on a simple multimeter test.
If a battery repeatedly fails to charge, runs down unusually fast, becomes excessively hot, or shows physical damage, replacing it with the correct compatible battery is usually safer than attempting to open or force-charge the pack.