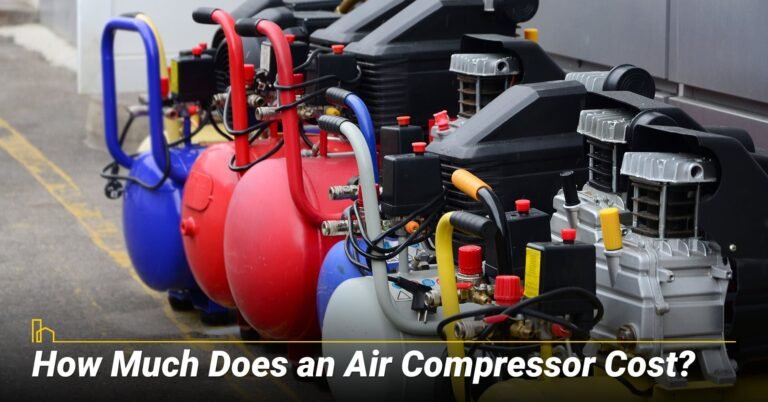
How to Connect a Hose to an Air Compressor: Step-by-Step Guide
learning how to connect a hose to an air compressor is one of the first skills every DIY user, homeowner, and professional should know. A proper connection helps your tools work correctly and reduces air leaks.
Over the years, I have connected hundreds of air hoses in garages, construction sites, and home workshops. The process is simple, but small mistakes can cause leaks, poor tool performance, or damaged fittings. This guide explains exactly how to connect a hose to an air compressor safely and correctly.

Understanding the Parts Before You Start
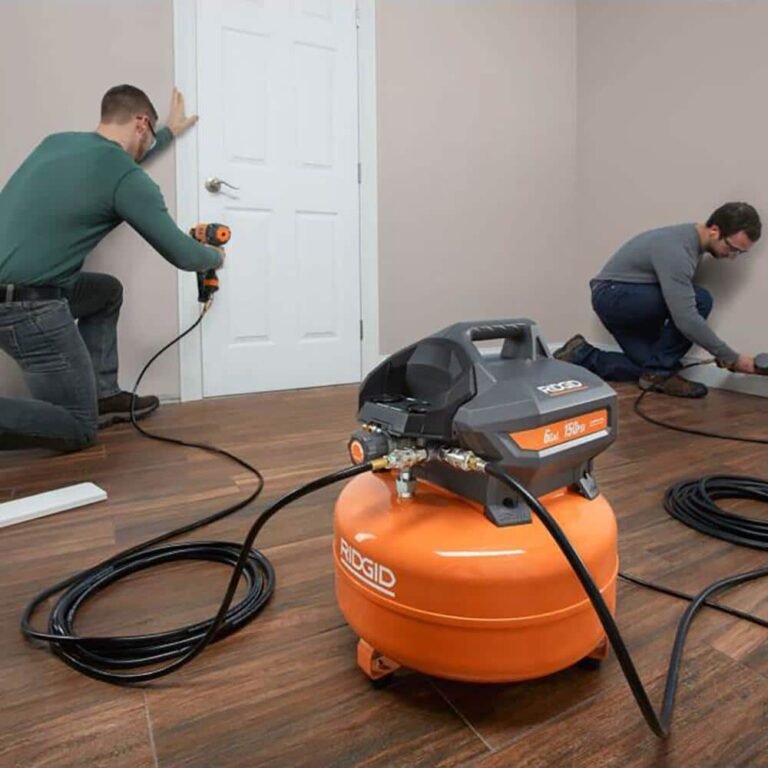
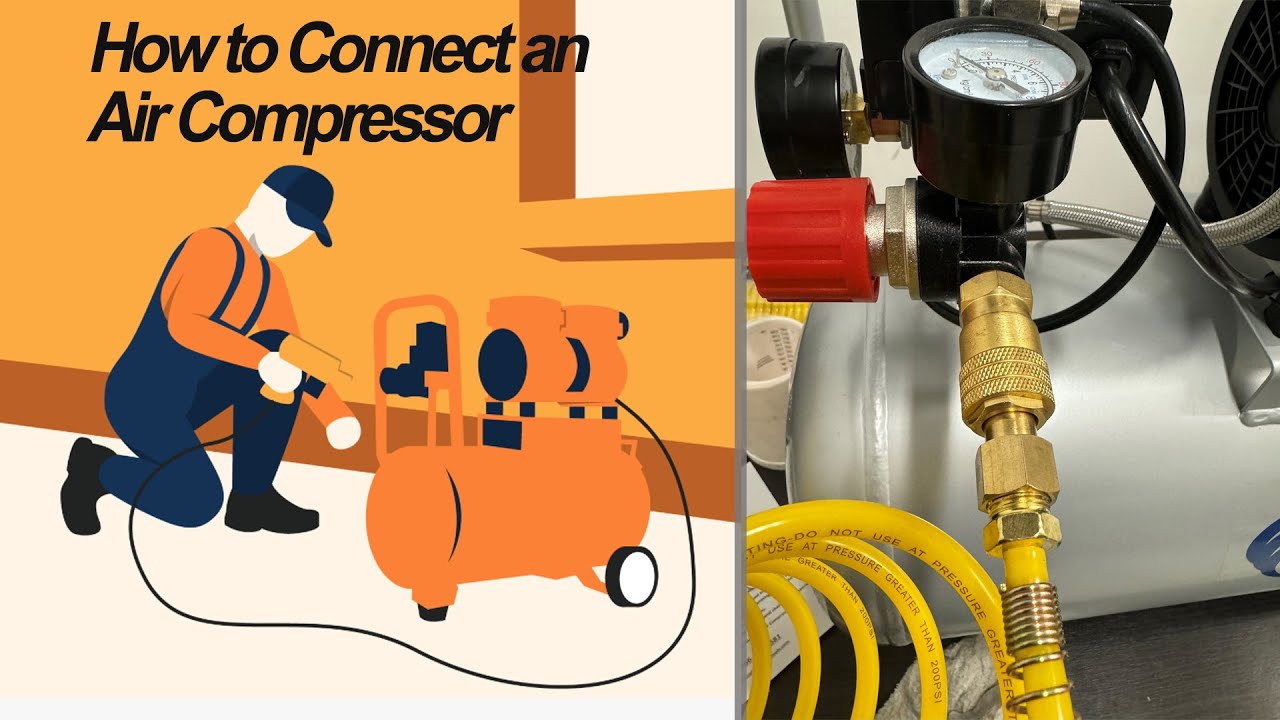
Before learning how to connect a hose to an air compressor, it helps to understand the main components. Most compressors use a quick-connect coupler that accepts a matching hose plug.
The hose carries compressed air from the tank to the tool. The coupler, plug, regulator, and fittings must all be compatible for the system to work correctly.
- ✦ Air Compressor
Produces and stores compressed air.
- ✦ Air Hose
Transfers compressed air to tools and accessories.
- ✦ Quick-Connect Coupler
Allows fast hose attachment and removal.
- ✦ Plug or Nipple
Connects to the coupler on the compressor.
Why Compatibility Matters
Different fitting styles exist. If the plug and coupler do not match, the hose may not lock into place or may leak air. Always verify the fitting type before installation.
- ✦ Check Size
Most home users work with 1/4-inch fittings.
Tools and Materials You May Need
Many air hoses arrive ready to use. Others require you to install fittings before connecting them to the compressor.
Gathering the right tools beforehand makes the job faster and helps prevent leaks.

- ✦ Air Hose
The hose you plan to connect.
- ✦ Quick-Connect Plug
Attaches to the hose end if not preinstalled.
- ✦ Thread Seal Tape
Helps create an airtight seal on threaded fittings.
- ✦ Wrenches
Used to tighten fittings securely.
Inspect Equipment First
Look for cracks, damaged threads, worn seals, or kinks in the hose. Replacing damaged parts before use improves safety and performance.
- ✦ Check Coupler
Make sure the sleeve moves smoothly.
How to Connect a Hose to an Air Compressor Step by Step
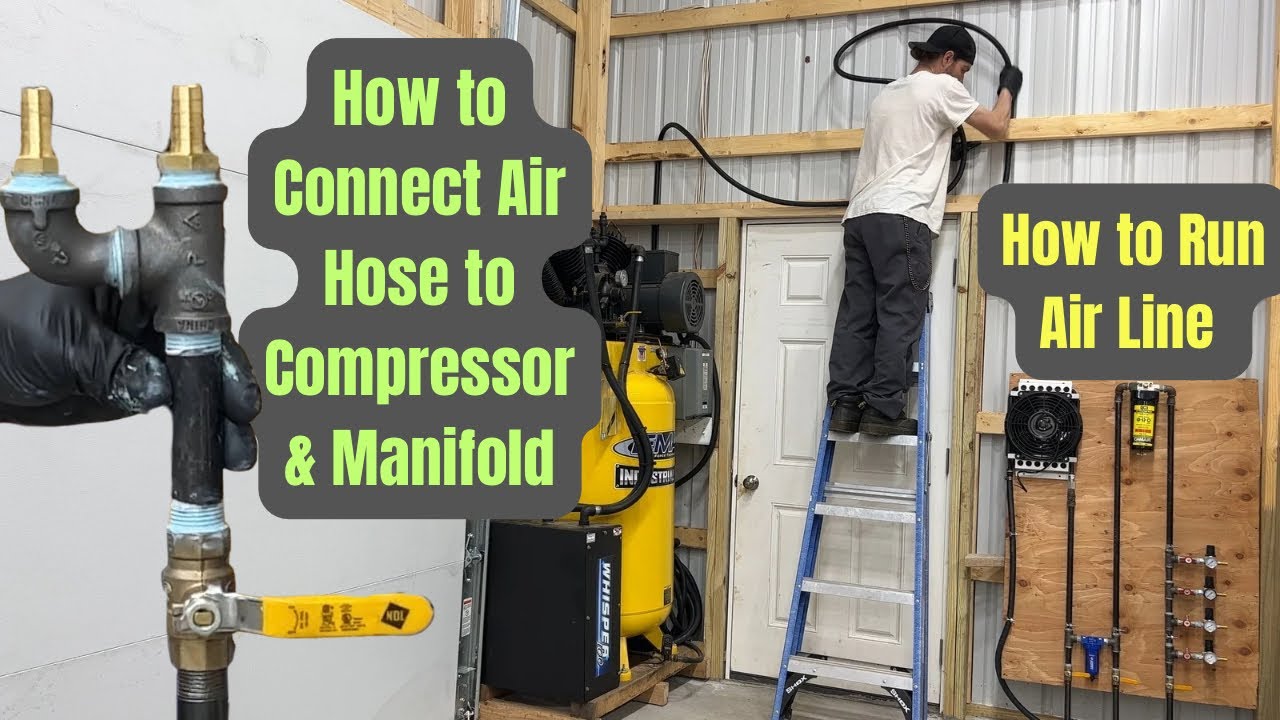
If you are wondering how to connect a hose to an air compressor, follow these simple steps. The process works for most portable and stationary air compressors used in the United States.
Take your time during setup. A secure connection prevents leaks and ensures your air tools receive proper pressure.
- ✦ Step 1
Turn off the compressor and unplug it if applicable.
- ✦ Step 2
Release any remaining tank pressure when necessary.
- ✦ Step 3
Install the hose fitting if it is not already attached.
- ✦ Step 4
Pull back the coupler sleeve on the compressor.
- ✦ Step 5
Insert the hose plug fully into the coupler.
- ✦ Step 6
Release the sleeve and verify it locks in place.
Test the Connection
Power on the compressor and allow pressure to build. Listen for hissing sounds and apply soapy water around fittings if you suspect a leak.
- ✦ Leak Check
Bubbles indicate escaping air.
Common Mistakes When Connecting an Air Hose
Many problems occur because users rush through the installation process. Avoiding a few common mistakes can save time and frustration.
When learning how to connect a hose to an air compressor, careful setup is more important than speed.

- ✦ Wrong Fittings
Using mismatched plugs and couplers causes leaks.
- ✦ Loose Connections
Poorly tightened fittings allow air to escape.
- ✦ No Thread Tape
Threaded fittings may leak without proper sealing.
- ✦ Damaged Hose
Cracks and cuts reduce efficiency and safety.
Ignoring Pressure Requirements
Always check the pressure rating of your hose and tools. Operating above the rated limit can damage equipment and create safety risks.
- ✦ Read Labels
Verify PSI ratings before use.
Safety Tips for Air Compressor Hose Connections
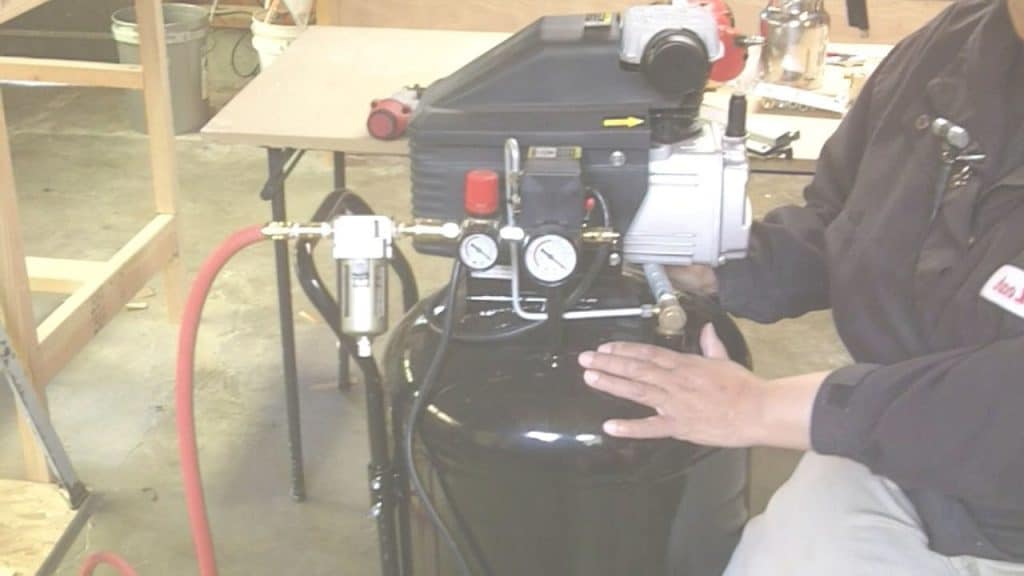
Safety should always come first when working with compressed air. Even small compressors can store significant energy.
Using proper procedures helps protect both the operator and nearby equipment.
- ✦ Wear Eye Protection
Protects against debris and accidental fitting failures.
- ✦ Inspect Before Use
Check hoses and fittings every time.
- ✦ Secure Connections
Ensure the coupler locks completely.
- ✦ Avoid Sharp Bends
Prevents hose damage and restrictions.
Store Hoses Properly
Coil hoses neatly after use. Proper storage extends hose life and reduces tripping hazards in the workshop.
- ✦ Keep Dry
Store away from moisture and direct sunlight.
Troubleshooting Air Hose Connection Problems
Sometimes a hose refuses to connect even when it appears correct. Most issues come from worn fittings, debris, or incompatible couplers.
If you still have trouble after learning how to connect a hose to an air compressor, inspect each component individually.

- ✦ Air Leak
Check seals, threads, and coupler wear.
- ✦ Hose Will Not Lock
Verify plug compatibility and clean the coupler.
- ✦ Low Airflow
Inspect for kinks, restrictions, or regulator settings.
When to Replace Fittings
Replace fittings that show corrosion, cracks, or repeated leakage. New fittings are inexpensive and often solve persistent problems.
- ✦ Regular Maintenance
Inspect fittings every few months in active workshops.