How to Use a Hand Drill: A Complete Beginner-to-Pro Guide
Learning how to use a hand drill is one of the most valuable DIY and woodworking skills. A hand drill gives you excellent control, works without electricity, and helps create precise holes in wood, plastic, and other materials.
Over the years, I have used hand drills for furniture repairs, woodworking projects, and quick household fixes. Many beginners find that a hand drill teaches proper drilling technique because it slows the process down and improves accuracy. Once you understand how to use a hand drill correctly, many projects become easier and more enjoyable.
What Is a Hand Drill?
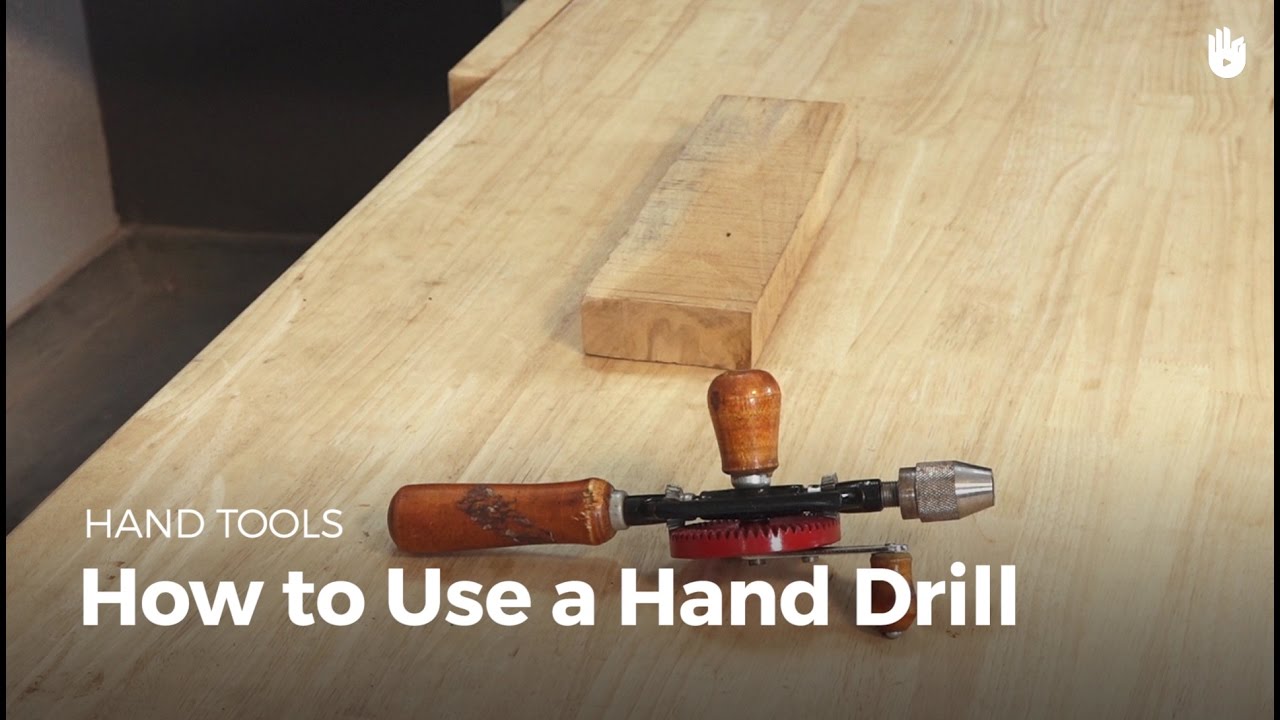
A hand drill is a manual drilling tool that creates holes through rotational motion powered by your hand. Unlike electric drills, it requires no batteries or power cords.
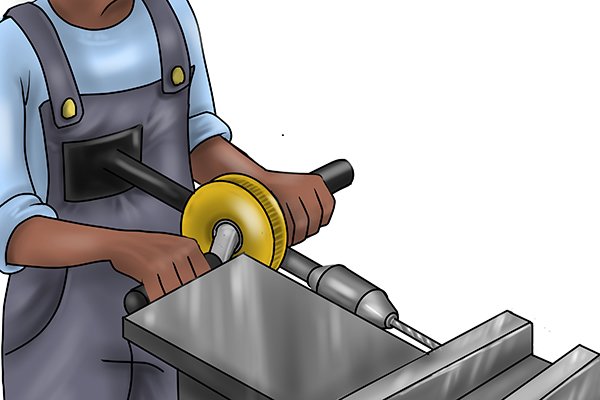
Many traditional hand drills use gears and a crank handle. As you turn the handle, the chuck rotates the drill bit. This simple design provides excellent control and precision.

- ✦ Portable
Works anywhere without electricity.
- ✦ Precise
Offers excellent control for delicate work.
- ✦ Quiet
Produces little noise compared to power drills.
When to Use a Hand Drill
A hand drill is ideal for small woodworking jobs, crafts, model building, and situations where precision matters more than speed. It is also useful when working in locations without access to power.
- ✦ Woodworking
Perfect for small holes and pilot holes.
- ✦ Repairs
Useful for furniture and household fixes.
Parts of a Hand Drill You Should Know
Before learning how to use a hand drill, become familiar with its main parts. Understanding the tool helps you work safely and efficiently.
Most hand drills include a handle, crank, chuck, gears, frame, and drill bit. Each component plays a role in creating smooth and controlled drilling action.

- ✦ Chuck
Holds the drill bit securely.
- ✦ Crank Handle
Provides rotational power.
- ✦ Main Handle
Stabilizes the drill during use.
Why Understanding Parts Matters
Knowing the function of each part helps troubleshoot issues, improve drilling accuracy, and maintain the tool properly.
- ✦ Better Control
You can position your hands correctly.
How to Prepare Before Drilling
Preparation is an important part of learning how to use a hand drill. Taking a few minutes to set up properly improves results and reduces mistakes.
Always inspect the drill, choose the correct bit, and secure your workpiece. A stable setup leads to cleaner and more accurate holes.

- ✦ Choose the Right Bit
Match the bit size and type to the material.
- ✦ Mark the Hole
Use a pencil or center punch for accuracy.
- ✦ Clamp the Material
Prevent movement while drilling.
Safety Gear
Wear safety glasses to protect your eyes from dust and debris. Avoid loose clothing that could interfere with the tool.
- ✦ Eye Protection
Protects against flying particles.
Step-by-Step Instructions for How to Use a Hand Drill
If you want to master how to use a hand drill, follow a consistent process. This method works well for most woodworking and home improvement projects.
Focus on control rather than speed. Smooth, steady motion produces the best results.

- ✦ Step 1
Insert the drill bit into the chuck and tighten it securely.
- ✦ Step 2
Mark the drilling location clearly.
- ✦ Step 3
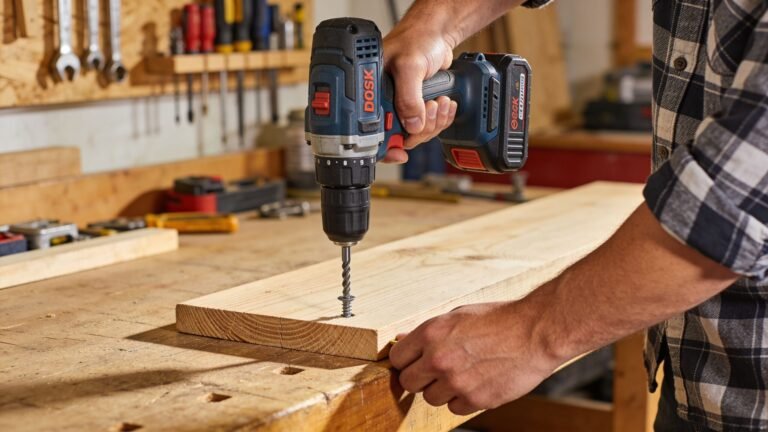
Place the bit on the mark and hold the drill upright.
- ✦ Step 4
Turn the crank smoothly while applying light pressure.
- ✦ Step 5
Continue until the desired depth is reached.
Keeping the Drill Straight
One of the biggest challenges when learning how to use a hand drill is maintaining a straight angle. Check the drill from different viewpoints as you work.
- ✦ Visual Check
Pause occasionally to verify alignment.
Drilling Pilot Holes
A pilot hole makes it easier to drive screws and helps prevent wood from splitting. Start with a smaller bit before moving to larger sizes.
- ✦ Cleaner Results
Reduces material damage and improves accuracy.
Common Mistakes to Avoid
Many beginners struggle when learning how to use a hand drill because they rush the process. Small mistakes can affect hole quality and tool performance.
Understanding common errors helps you improve quickly and avoid frustration.

- ✦ Using Dull Bits
Requires extra effort and creates rough holes.
- ✦ Too Much Pressure
Can damage the bit or workpiece.
- ✦ Poor Alignment
Leads to crooked holes.
- ✦ Skipping Pilot Holes
May cause wood splitting.
How to Correct Mistakes
Slow down and focus on consistency. Sharp bits, proper setup, and steady hand placement usually solve most drilling issues.
- ✦ Practice
Use scrap wood before working on finished projects.
Safety Tips for Using a Hand Drill
Safety should always come first when learning how to use a hand drill. Even manual tools can cause injuries if used improperly.
Developing safe habits protects both you and your project.
- ✦ Wear Safety Glasses
Protect your eyes from dust and debris.
- ✦ Secure the Workpiece
Prevent slipping and movement.
- ✦ Inspect the Tool
Check for loose parts before use.
- ✦ Work Slowly
Control is more important than speed.
Safe Storage
Store your hand drill in a dry location. Keep drill bits organized and protected from moisture.
- ✦ Rust Prevention
Clean and dry the tool after use.
Maintaining Your Hand Drill
Proper maintenance helps your hand drill last for many years. A well-maintained tool operates smoothly and delivers more accurate results.
Simple cleaning and lubrication can make a noticeable difference.
- ✦ Clean After Use
Remove dust and debris from moving parts.
- ✦ Lubricate Gears
Reduce wear and maintain smooth operation.
- ✦ Store Properly
Protect the tool from moisture and corrosion.
Bit Care
Sharp drill bits improve performance and require less effort. Replace or sharpen worn bits when necessary.
- ✦ Sharp Bits
Produce cleaner and faster holes.