How to Use an Electric Drill: A Complete Beginner-Friendly Step-by-Step Guide
Learning how to use an electric drill is one of the most useful DIY skills a homeowner can develop. Whether you are hanging shelves, assembling furniture, mounting a television, or completing a weekend project, a drill can save time and effort.
From my experience working on home improvement projects, most beginners struggle because they rush into drilling without understanding the tool. Once you learn the basics of how to use an electric drill, the process becomes simple, safe, and surprisingly enjoyable.
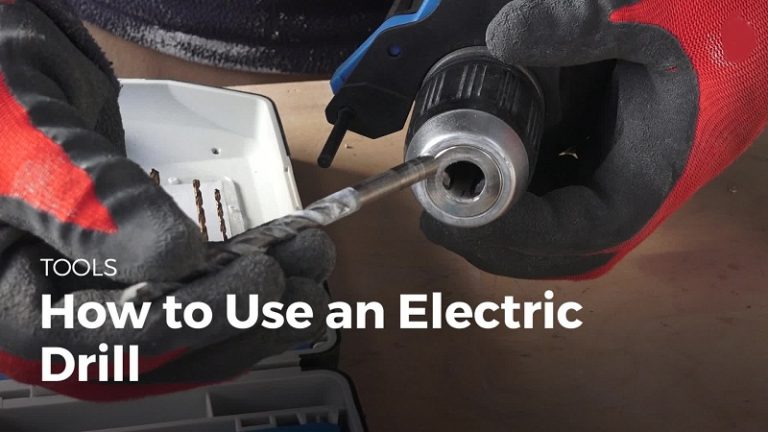
What Is an Electric Drill and What Does It Do?
An electric drill is a handheld power tool designed to drill holes and drive screws. It uses a motor to spin a drill bit or driver bit at different speeds.
Modern drills are available in corded and cordless versions. Most homeowners in the United States prefer cordless drills because they offer convenience and portability.
Understanding how to use an electric drill starts with knowing that the tool can perform many jobs. It can drill into wood, metal, plastic, drywall, and other materials when paired with the correct bit.
:max_bytes(150000):strip_icc()/How-to-use-a-power-drill-1825112_final-0b1f67f5a93147cd8f4c119261d648f0.png "Electric Drill Drawing With Label")
- ✦ Drill Holes
Create holes in wood, drywall, plastic, and metal.
- ✦ Drive Screws
Install screws quickly for furniture, fixtures, and repairs.
- ✦ Versatile Tool
Use different bits and attachments for many tasks.
Corded vs. Cordless Drills
Corded drills provide continuous power. Cordless drills offer greater mobility and are ideal for most household projects.
- ✦ Corded
Unlimited runtime with a power outlet.
- ✦ Cordless
Portable and convenient for indoor and outdoor jobs.
Know the Main Parts of a Drill
Before learning how to use an electric drill, take a few minutes to identify its main parts. Knowing what each control does helps you work more safely and accurately.
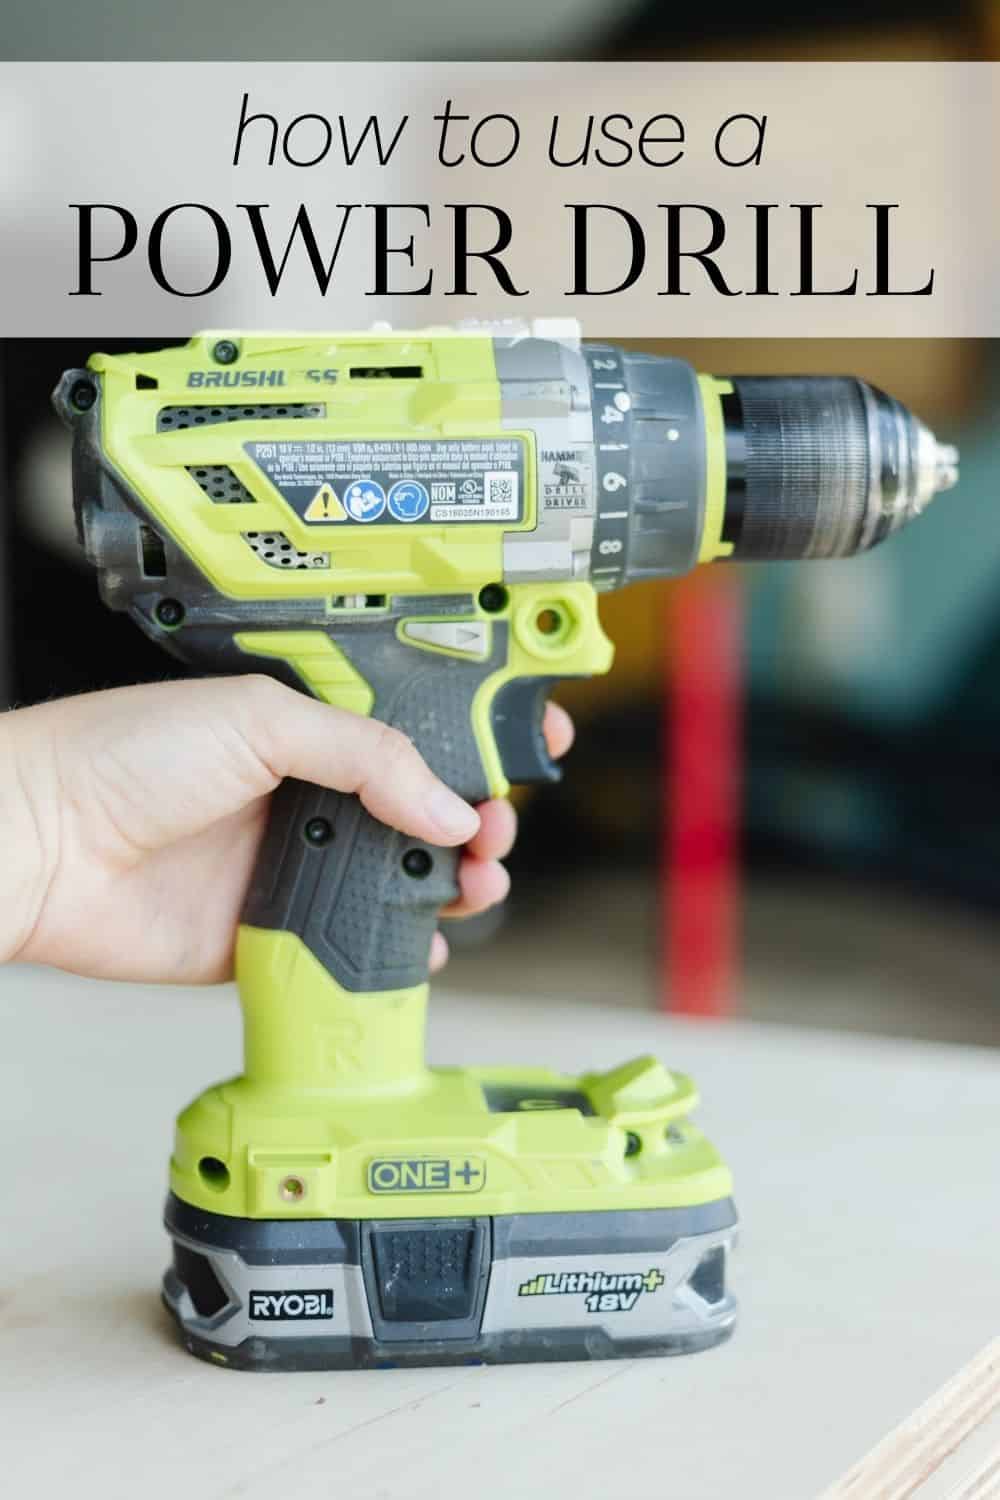
Most drills have a chuck, trigger, forward and reverse switch, clutch settings, and a speed selector. These controls affect how the drill performs during different tasks.
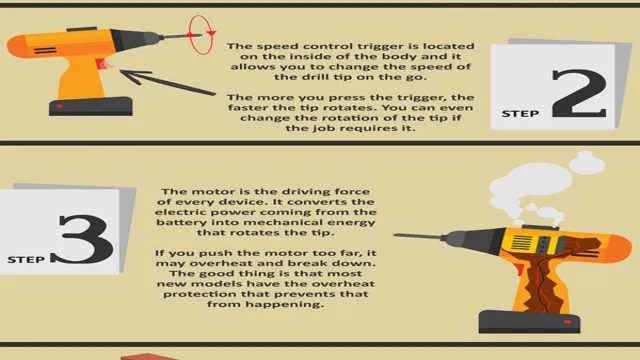
- ✦ Chuck
Holds the drill bit or driver bit.
- ✦ Trigger
Controls drill speed based on pressure.
- ✦ Clutch
Helps prevent overdriving screws.
- ✦ Forward/Reverse Switch
Changes the direction of rotation.
Why the Clutch Matters
The clutch is especially useful when driving screws. It reduces the chance of damaging materials or stripping screw heads.
- ✦ Lower Settings
Better for small screws and delicate materials.
How to Use an Electric Drill Step by Step
The best way to learn how to use an electric drill is to follow a simple process. These steps work for most basic drilling tasks.
Take your time during the first few projects. Accuracy is more important than speed.

- ✦ Step 1
Select the correct drill bit for the material.
- ✦ Step 2
Insert the bit securely into the chuck.
- ✦ Step 3
Mark the drilling location with a pencil.
- ✦ Step 4
Position the drill perpendicular to the surface.
- ✦ Step 5
Pull the trigger slowly and increase speed gradually.
- ✦ Step 6
Apply steady pressure without forcing the drill.
Maintaining Control
Hold the drill firmly with both hands when possible. A stable grip improves accuracy and reduces fatigue.
- ✦ Stay Aligned
Keep the drill straight throughout the drilling process.
How to Drive Screws with an Electric Drill
Many people learn how to use an electric drill because they want to drive screws quickly. This is one of the tool’s most common uses.
Switch from a drill bit to a driver bit that matches the screw head. Set a lower speed and use an appropriate clutch setting.

- ✦ Match the Bit
Use the correct driver bit for the screw type.
- ✦ Start Slowly
Prevent slipping and surface damage.
- ✦ Use the Clutch
Reduce the chance of overdriving screws.
Avoid Stripped Screws
Keep steady pressure on the screw and maintain alignment. This helps prevent damage to the screw head.
- ✦ Proper Pressure
Apply firm but controlled force.
Essential Safety Tips When Using an Electric Drill
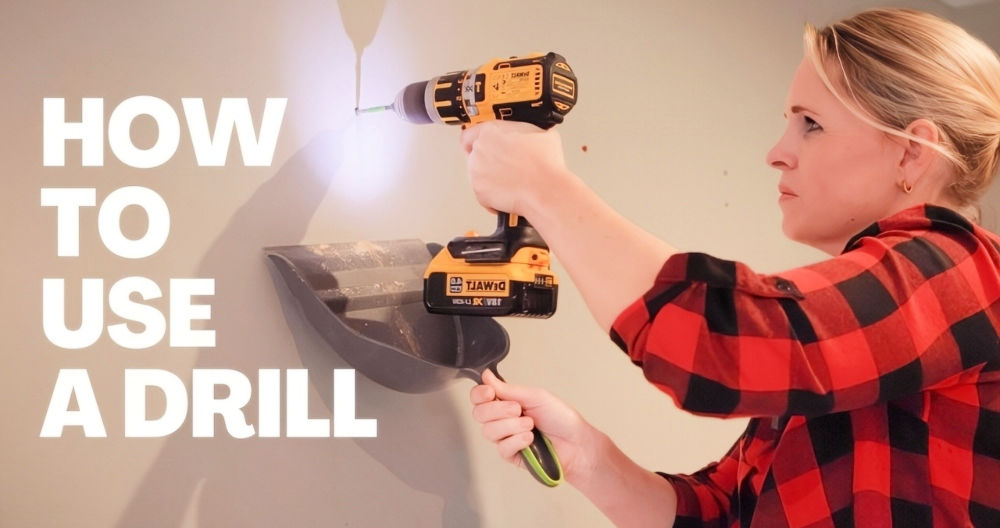
Safety should always come first when learning how to use an electric drill. Even beginner-friendly drills can cause injury if used carelessly.
Wear safety glasses to protect your eyes from dust and debris. Secure loose clothing and tie back long hair before operating the tool.
- ✦ Wear Eye Protection
Protect against flying debris.
- ✦ Inspect the Bit
Check for damage before use.
- ✦ Secure the Material
Clamp workpieces whenever possible.
- ✦ Disconnect Power
Remove the battery or unplug the drill before changing bits.
Work Area Safety
Keep your workspace clean and well lit. A clutter-free area reduces distractions and accidents.
- ✦ Stay Focused
Avoid rushing or multitasking.
Common Mistakes Beginners Should Avoid
When learning how to use an electric drill, mistakes are part of the process. The goal is to recognize them early and improve your technique.
One of the most common errors is using the wrong drill bit. Another is applying too much force, which can damage the material or break the bit.
- ✦ Wrong Bit Selection
Choose bits designed for the material being drilled.
- ✦ Too Much Pressure
Let the drill do the work.
- ✦ Poor Alignment
Keep the drill straight to avoid crooked holes.
- ✦ Ignoring Safety Gear
Always wear eye protection.
Practice Before Important Projects
Use scrap wood or spare material to build confidence. Practice improves precision and control.
- ✦ Build Experience
Small practice sessions make a big difference.
Choosing the Right Drill Bit for the Job
A major part of understanding how to use an electric drill is choosing the correct bit. Different materials require different bit designs.
Wood bits, masonry bits, and metal bits are built for specific purposes. Using the right bit improves performance and extends tool life.
- ✦ Wood Bits
Ideal for lumber, plywood, and soft woods.
- ✦ Metal Bits
Designed for steel, aluminum, and other metals.
- ✦ Masonry Bits
Used for concrete, brick, and stone.
Check Bit Condition
Sharp bits drill faster and create cleaner holes. Replace worn or damaged bits when necessary.
- ✦ Inspect Regularly
Good bits improve accuracy and safety.