How to Use a Drill Properly: A Complete Beginner-to-Pro Guide
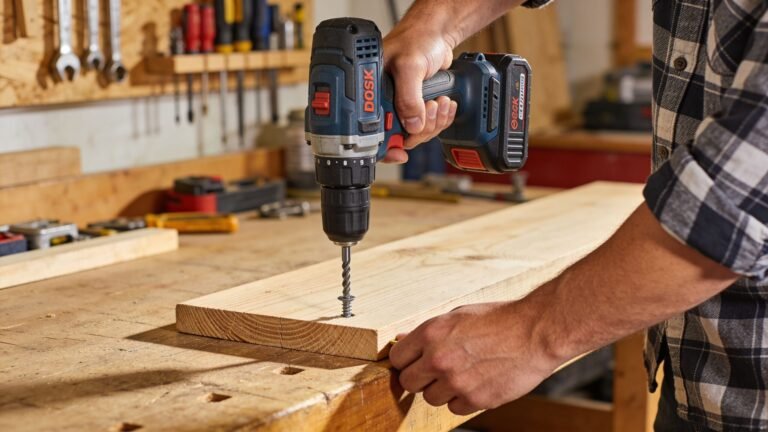
learning how to use a drill properly is one of the most useful DIY skills you can develop. Whether you are hanging shelves, building furniture, or tackling weekend home projects, a drill can save time and effort when used correctly.
Over the years, I have found that most drilling mistakes come from rushing, using the wrong bit, or applying too much force. Once you understand the basics of how to use a drill properly, you can work faster, safer, and with much better results.
Understanding the Parts of a Drill
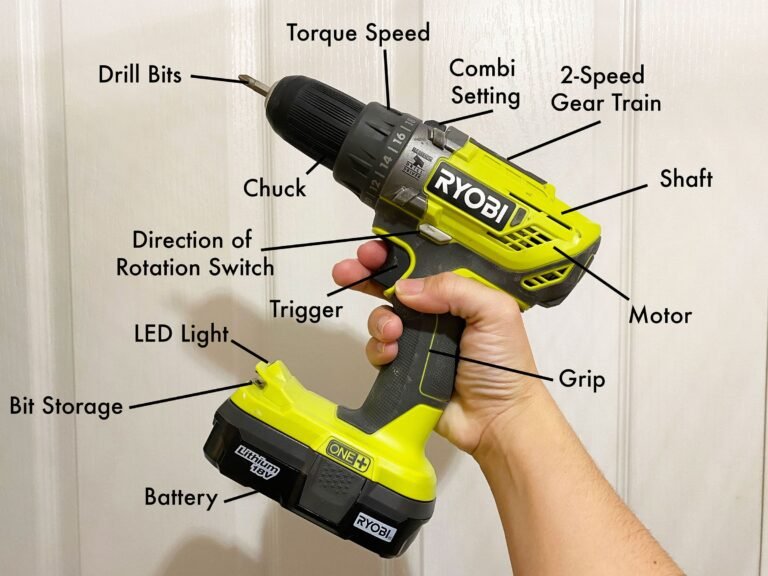
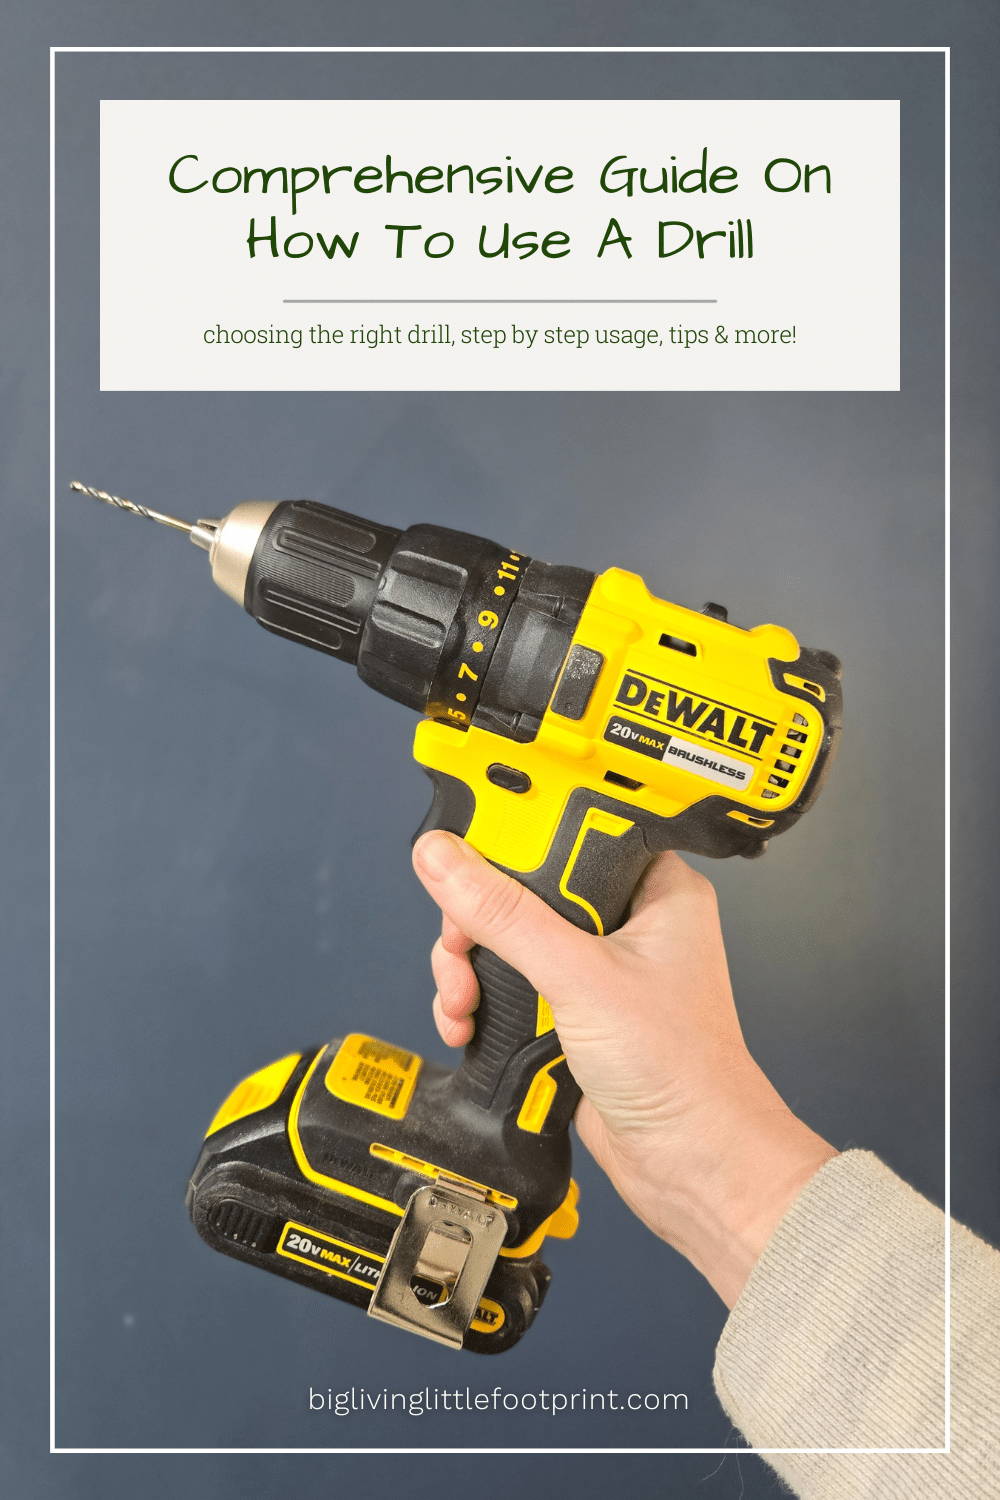
Before learning how to use a drill properly, take a few minutes to understand the tool. Most cordless drills have a trigger, chuck, clutch, speed selector, forward and reverse switch, and battery pack.
Knowing what each part does helps you control the tool with confidence. It also reduces the chance of mistakes and improves safety.
- ✦ Chuck
Holds the drill bit securely in place.
- ✦ Trigger
Controls the drill speed based on pressure.
- ✦ Clutch
Prevents overdriving screws and reduces stripping.
- ✦ Forward and Reverse Switch
Changes the drilling or screw-driving direction.
Cordless vs. Corded Drills
Cordless drills are popular in many U.S. homes because they are portable and convenient. Corded drills provide continuous power and are often preferred for heavy-duty work.
- ✦ Cordless
Easy to carry and ideal for most household projects.
- ✦ Corded
Offers consistent power for demanding jobs.
Essential Safety Steps Before Drilling
Safety should always come first when learning how to use a drill properly. A few simple precautions can prevent injuries and protect your work area.
Check the drill, battery, and bit before every project. Make sure everything is secure and in good condition.

- ✦ Wear Eye Protection
Flying debris can cause serious eye injuries.
- ✦ Secure the Material
Clamp workpieces to prevent movement.
- ✦ Remove Loose Clothing
Loose items can get caught in rotating parts.
- ✦ Inspect the Bit
Replace damaged or worn bits immediately.
Creating a Safe Workspace
Work in a well-lit area with enough room to move comfortably. Keep children, pets, and distractions away from the project area.
- ✦ Good Lighting
Helps you drill accurately and safely.
Choosing the Right Drill Bit
A key part of how to use a drill properly is selecting the correct bit. Different materials require different bit designs.
Using the wrong bit can damage the material, wear out the bit, or make drilling difficult.
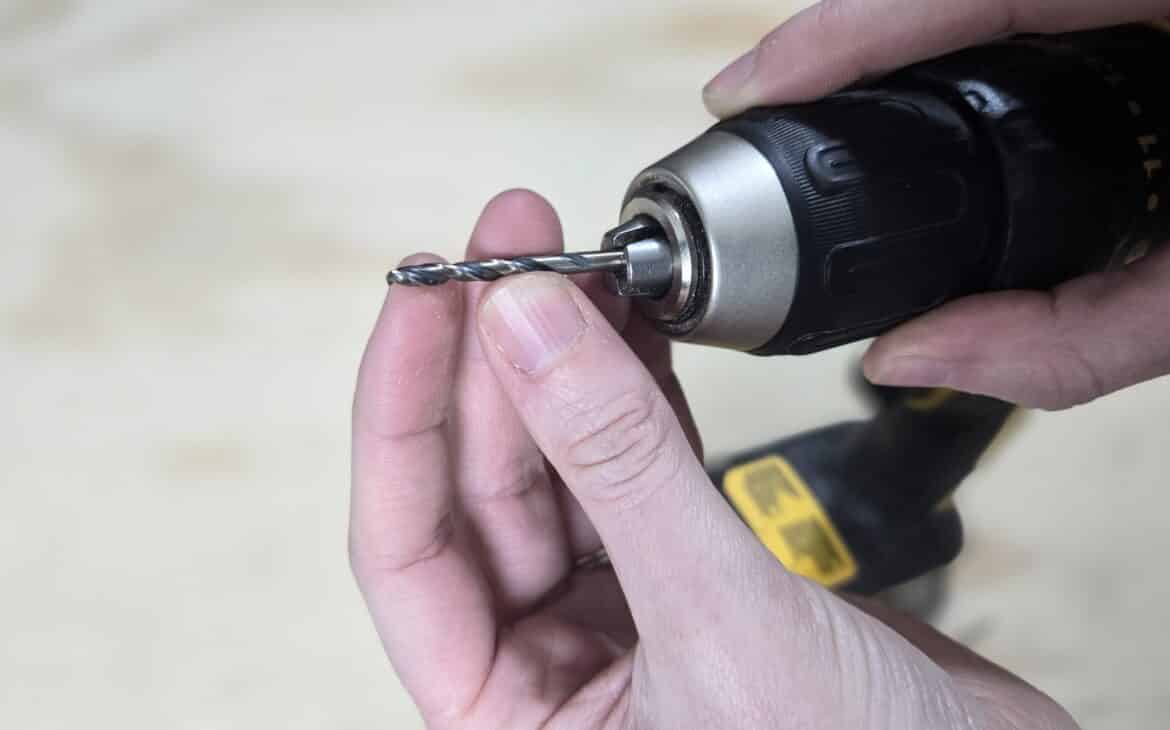
- ✦ Wood Bits
Designed for clean holes in lumber and plywood.
- ✦ Metal Bits
Made for steel, aluminum, and other metals.
- ✦ Masonry Bits
Used for concrete, brick, and stone.
- ✦ Driver Bits
Used for driving screws instead of drilling holes.
Matching Bit Size to the Job
Always choose a bit size that matches the hole or fastener requirements. Measuring first helps prevent costly mistakes.
- ✦ Pilot Holes
Use smaller bits before driving large screws.
How to Use a Drill Properly Step by Step
If you want to master how to use a drill properly, follow a consistent process every time. Good habits lead to better accuracy and safer operation.
Start slowly and focus on control rather than speed. As your skills improve, drilling becomes much easier.
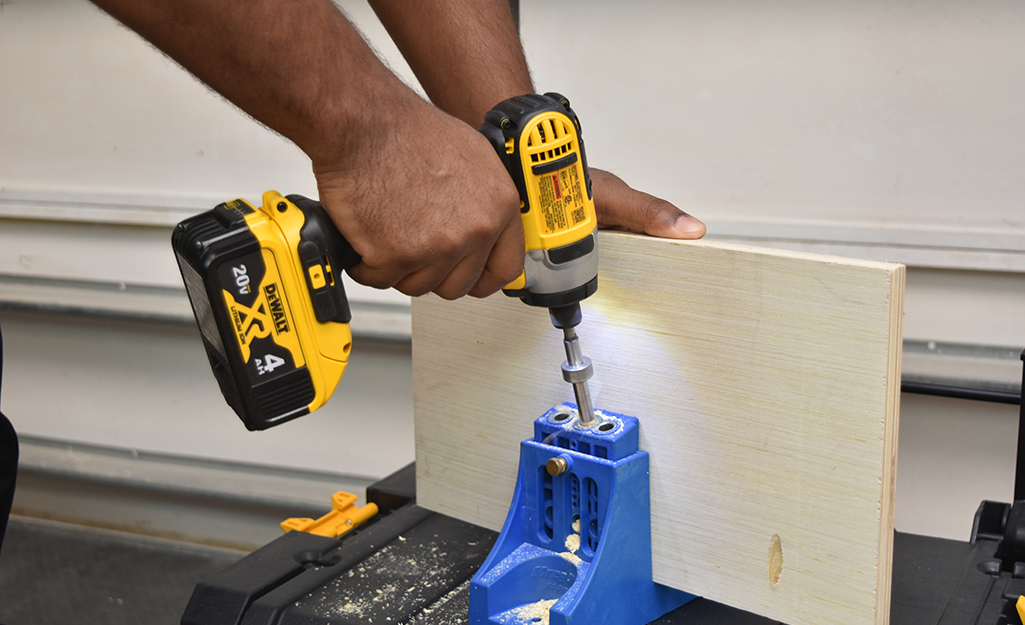
- ✦ Mark the Spot
Use a pencil or center punch to mark the drilling location.
- ✦ Install the Bit
Tighten the chuck securely around the bit.
- ✦ Select the Correct Speed
Use lower speeds for hard materials and larger bits.
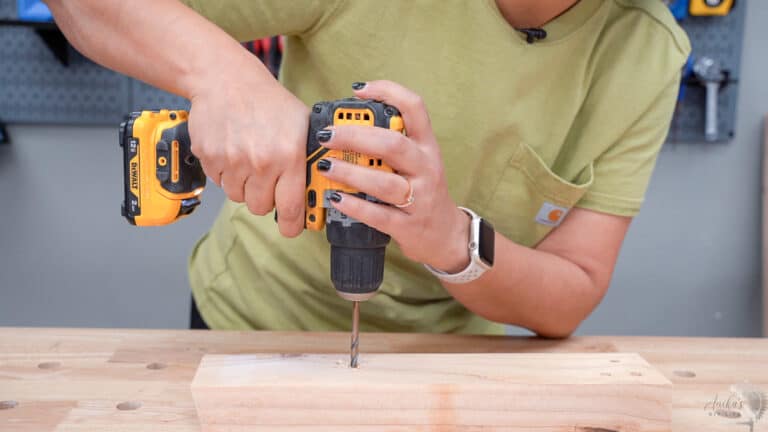
- ✦ Drill Straight
Keep the drill perpendicular to the surface.
Applying the Right Pressure
Let the drill and bit do the work. Too much force can damage the bit or create rough holes.
- ✦ Steady Pressure
Apply smooth and consistent pressure throughout the cut.
Finishing the Hole
Reduce pressure as the bit exits the material. This helps prevent splintering and creates cleaner results.
- ✦ Slow Exit
Improves hole quality and reduces tear-out.
Using a Drill for Driving Screws
Many people learn how to use a drill properly for drilling holes but forget that drills are also excellent screw-driving tools.
The clutch setting helps prevent stripped screws and damaged materials. Start with a lower setting and adjust as needed.

- ✦ Use the Correct Driver Bit
Match the bit to the screw head type.
- ✦ Set the Clutch
Reduces the risk of overdriving screws.
- ✦ Keep the Bit Aligned
Helps prevent slipping and damage.
Driving Long Screws
For long screws, drill a pilot hole first. This reduces resistance and makes installation easier.
- ✦ Pilot Hole
Improves accuracy and reduces wood splitting.
Common Mistakes to Avoid
Understanding common mistakes is an important part of learning how to use a drill properly. Small errors can affect both safety and results.
Most drilling problems can be avoided with preparation, patience, and proper technique.

- ✦ Using the Wrong Bit
Leads to poor performance and damaged materials.
- ✦ Drilling Too Fast
Can overheat bits and reduce accuracy.
- ✦ Ignoring Safety Gear
Increases the risk of injury.
- ✦ Applying Excessive Force
Can damage the tool and workpiece.
Rushing the Job
One lesson I learned early in my DIY experience is that rushing often creates extra work. Slow and steady drilling usually delivers the best results.
- ✦ Stay Patient
Take time to measure and position correctly.
Maintenance Tips for Better Drill Performance
Proper maintenance helps your drill last longer and perform reliably. It is also an important part of how to use a drill properly over the long term.
Clean the tool after each project and store it in a dry location. Regular maintenance reduces wear and improves safety.
- ✦ Clean Dust and Debris
Prevents buildup around moving parts.
- ✦ Charge Batteries Properly
Helps extend battery life.
- ✦ Inspect Bits Regularly
Replace dull or damaged bits.
Proper Storage
Store your drill and accessories in a case or toolbox. Organized storage protects the tool and makes future projects easier.
- ✦ Dry Environment
Helps prevent rust and corrosion.