
How to Use Drill Torque Settings: Complete Beginner Guide
Learning how to use drill torque settings is one of the fastest ways to improve your DIY results. Many people focus on drill speed but overlook torque. The result is often stripped screw heads, damaged wood, or overdriven fasteners.
Over the years, I have used cordless drills for furniture assembly, deck repairs, drywall work, and woodworking projects. In nearly every case, proper torque settings made the job easier and cleaner. Once you understand what the numbered collar does, using a drill becomes much more predictable and precise.

What Are Drill Torque Settings?
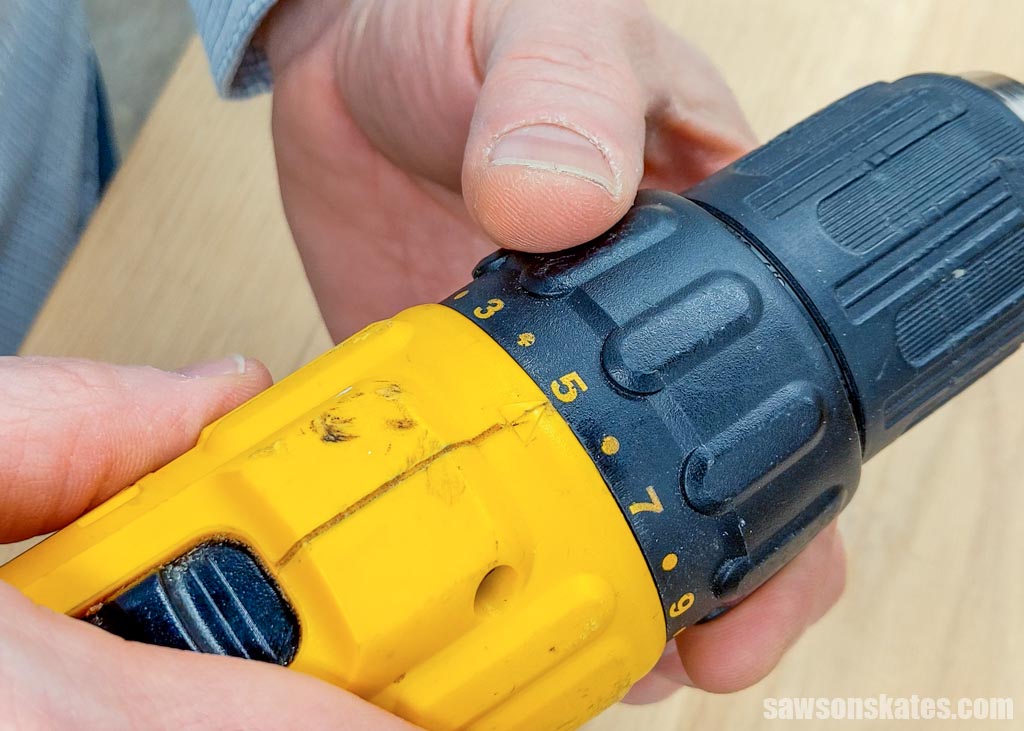
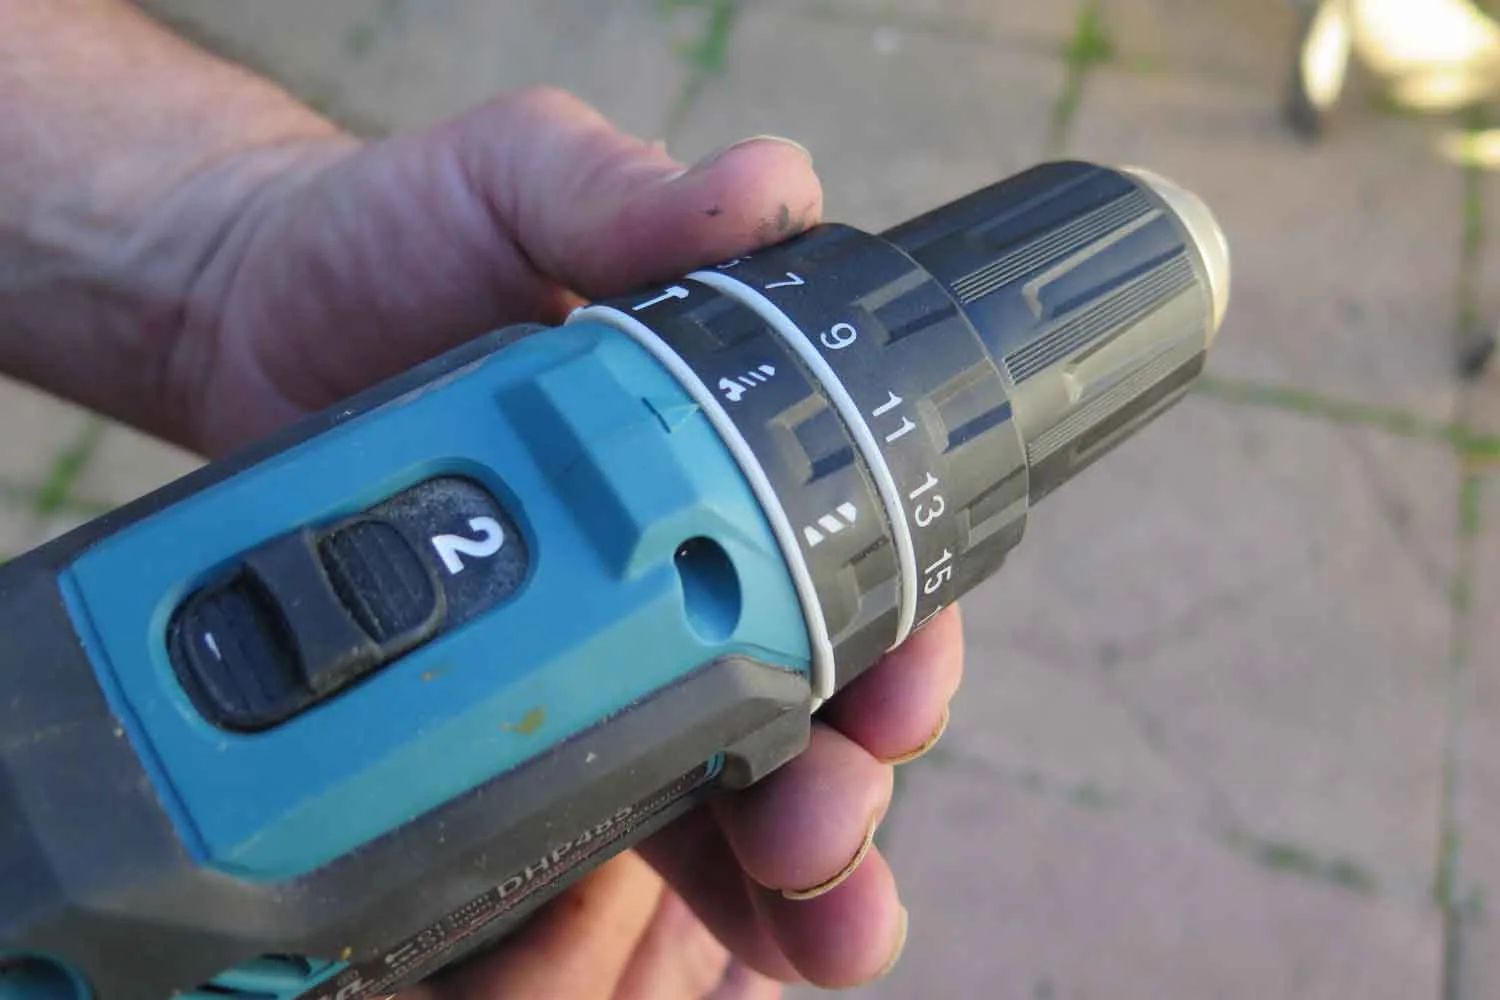
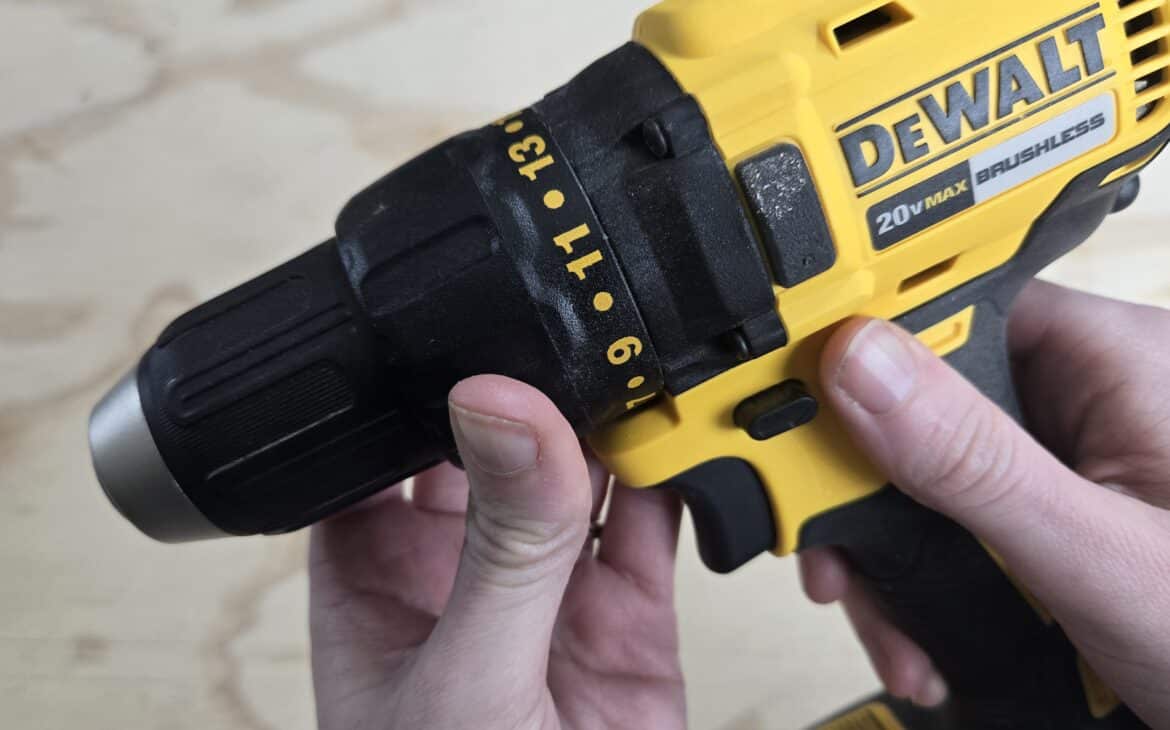
Torque is the twisting force your drill applies when driving a screw. The numbered ring behind the chuck is called the clutch collar. It limits how much force reaches the screw.
When the selected torque level is reached, the clutch slips and makes a clicking sound. This prevents the screw from being driven deeper. Understanding this system is the foundation of learning how to use drill torque settings effectively.

- ✦ Low numbers
Provide less turning force and are ideal for small screws or delicate materials.
- ✦ High numbers
Provide more turning force for larger screws and tougher materials.
- ✦ Drill mode
Usually bypasses the clutch and delivers maximum power for drilling holes.
Why Torque Matters
Correct torque protects both the fastener and the material. It also improves consistency when installing multiple screws in a project.
- ✦ Cleaner results
Screws stop at a more uniform depth.
How to Read the Numbers on a Drill
Most cordless drills have numbers ranging from about 1 to 20 or higher. These numbers represent increasing levels of torque. Higher numbers allow more force before the clutch slips.
There is no universal chart that works for every drill brand. A setting of 10 on one drill may not match a setting of 10 on another. The best approach is to start low and adjust based on performance.

- ✦ Settings 1-5
Often used for small screws and soft materials.
- ✦ Settings 6-12
Common for general household projects and furniture assembly.
- ✦ Settings 13+
Typically used for larger fasteners and denser materials.
Why Different Brands Vary
Manufacturers design clutch systems differently. Always use the numbers as relative guides rather than exact measurements.
- ✦ Test first
Try a scrap piece of material before starting a finished project.
Step-by-Step Guide on How to Use Drill Torque Settings
If you want to master how to use drill torque settings, follow a simple process. This method works for most home improvement and woodworking projects.
The goal is to find the lowest setting that fully drives the screw without damaging the material. This gives you better control and more professional-looking results.
- ✦ Step 1
Install the correct driver bit and secure it tightly.
- ✦ Step 2
Set the clutch to a low number.
- ✦ Step 3
Drive a test screw into scrap material.
- ✦ Step 4
Increase the setting if the clutch clicks before the screw seats properly.
- ✦ Step 5
Repeat until the screw reaches the desired depth.
Know When to Stop
Once the screw sits flush with the surface, there is usually no need for additional torque. More force can damage the material.
- ✦ Watch the surface
Stop increasing torque when the screw reaches the correct depth.
Recommended Torque Settings for Common Materials
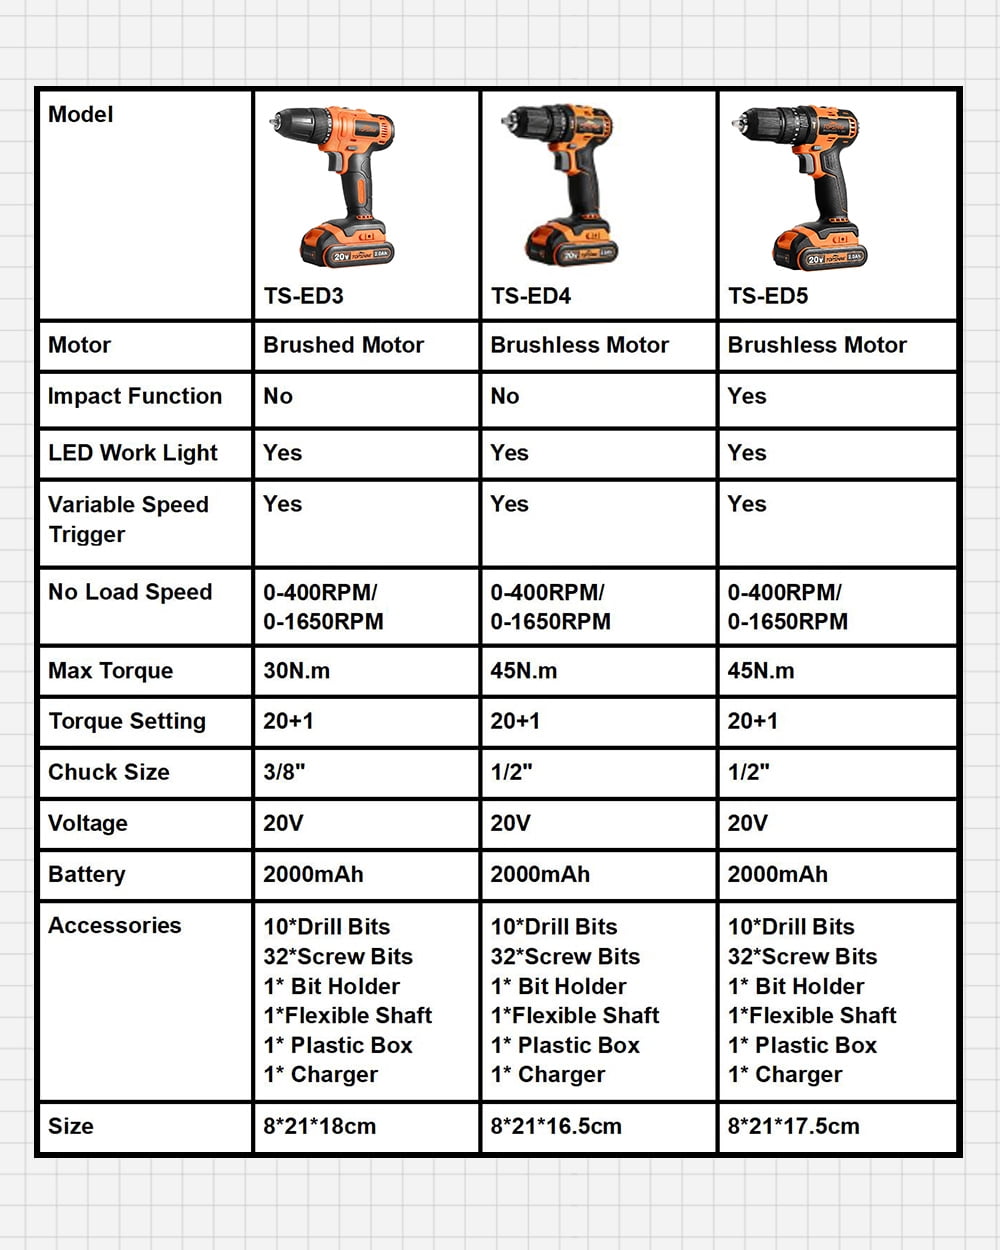
Many DIYers ask for exact numbers when learning how to use drill torque settings. While settings vary by drill, general ranges can help you start.
Always test on a scrap piece first. Material density, screw length, and screw diameter all affect the ideal setting.
- ✦ Drywall
Use lower settings to avoid tearing the paper surface.
- ✦ Softwood
Use low to medium settings depending on screw size.
- ✦ Hardwood
Use medium to higher settings and consider pre-drilling.
- ✦ Furniture assembly
Start low to prevent damaging particleboard or MDF.
- ✦ Deck screws
Often require higher settings due to longer fasteners.
When to Pre-Drill
Hardwoods and large screws often benefit from pilot holes. This reduces stress on both the drill and the material.
- ✦ Better control
Pilot holes help screws drive straighter and more smoothly.
Common Mistakes When Using Drill Torque Settings
Even experienced DIYers make mistakes when using a drill. Understanding these errors can save time and materials.
Many problems happen because users skip testing and immediately choose the highest setting. That removes the main benefit of the clutch system.
- ✦ Using maximum torque
Can strip screws and damage wood or drywall.
- ✦ Ignoring clutch clicks
The clicking sound is valuable feedback from the drill.
- ✦ Using the wrong bit
Poor bit fit increases slipping and screw damage.
- ✦ Skipping test drives
Testing helps find the correct setting quickly.
Signs Your Setting Is Too High
Watch for stripped screw heads, cracked wood, or screws driven too deeply. These are clear signs that the torque level needs to be reduced.
- ✦ Visible damage
Material damage often means excessive torque.
Drill Torque Settings vs Speed Settings
People often confuse torque and speed. Torque controls force. Speed controls how fast the chuck rotates.
Many drills have a high-speed gear and a low-speed gear. For driving screws, lower speed and appropriate torque settings usually provide the best control.

- ✦ Low speed
Better for driving screws accurately.
- ✦ High speed
Better for drilling holes quickly.
- ✦ Torque setting
Determines when the clutch disengages.
Best Combination for Screw Driving
A low gear setting combined with the correct torque setting gives the greatest control for most fastening jobs.
- ✦ Smooth operation
The drill is easier to control and less likely to damage materials.
Tips for Getting Professional Results
The more you practice how to use drill torque settings, the easier it becomes to judge the right level for each project. Small adjustments often make a big difference.
Professional contractors frequently test settings before starting important work. This simple habit prevents costly mistakes and improves consistency.
- ✦ Use quality bits
Good bits reduce slipping and wear.
- ✦ Keep batteries charged
Consistent power helps maintain predictable performance.
- ✦ Practice on scrap material
Testing helps you dial in the perfect setting.
- ✦ Increase gradually
Small changes are safer than large jumps.
Develop a Feel for Your Drill
Every drill behaves slightly differently. After a few projects, you will quickly recognize which settings work best for common household tasks.
- ✦ Experience matters
Regular use builds confidence and accuracy.