
How to Unscrew With a Power Drill: Step-by-Step Guide for Screw Removal
Learning how to unscrew with a power drill is one of the most useful DIY skills. Whether you are taking apart furniture, replacing hardware, or working on a home project, a power drill can save time and effort.
In my experience working on home repairs and workshop projects, most screw removal problems happen because of the wrong bit, too much speed, or poor alignment. Once you understand the correct process, how to unscrew with a power drill becomes simple, fast, and safe.

Understanding How a Power Drill Removes Screws
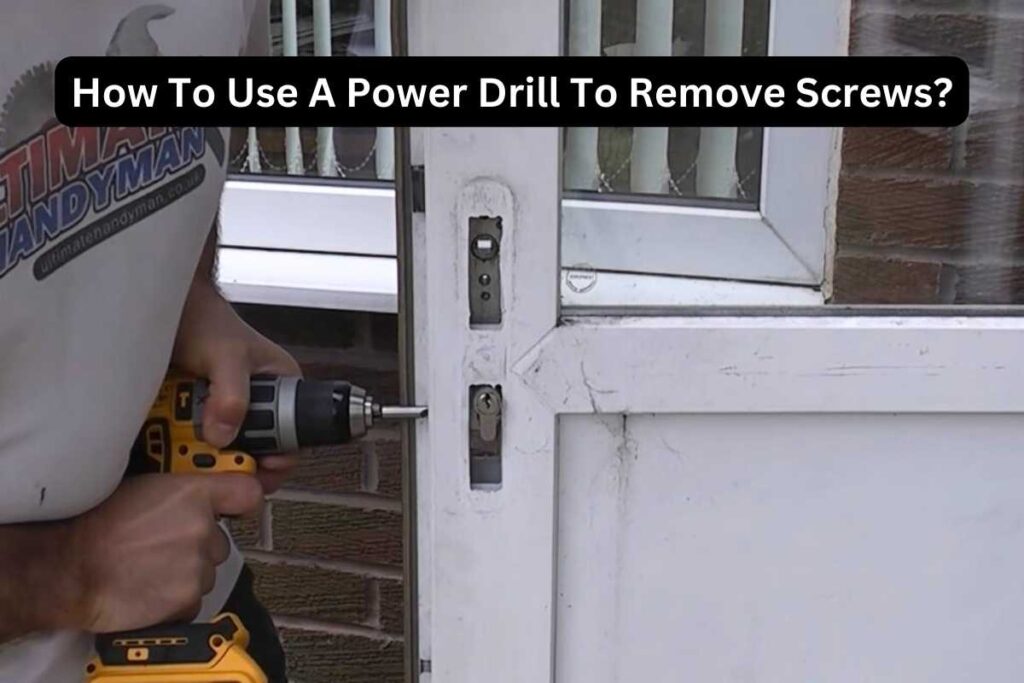
A power drill can both drive and remove screws. Most modern drills include a forward and reverse switch. When set to reverse, the drill rotates in the opposite direction and backs the screw out.
Understanding how to unscrew with a power drill starts with knowing this reverse function. The drill does the hard work while you provide control and alignment.

- ✦ Forward Mode
Tightens and drives screws into materials.
- ✦ Reverse Mode
Loosens and removes screws from materials.
- ✦ Variable Speed
Allows better control during screw removal.
Why Power Drills Are Better Than Manual Screwdrivers
A power drill removes screws faster and reduces hand fatigue. It is especially useful when dealing with long screws or large projects.
- ✦ Faster Work
Removes many screws in a short time.
- ✦ Less Effort
Reduces strain on hands and wrists.
Tools You Need Before Removing Screws
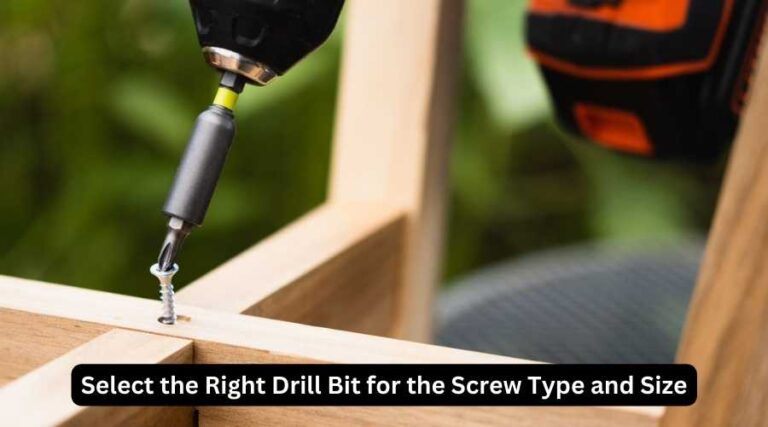
Before learning how to unscrew with a power drill, gather the right tools. Proper preparation prevents damaged screws and reduces frustration.
The most important item is the correct driver bit. A poorly matched bit can slip and strip the screw head.
- ✦ Power Drill
Cordless or corded drills both work well.
- ✦ Driver Bits
Match the bit style and size to the screw.
- ✦ Safety Glasses
Protect your eyes from debris.
Common Screw Head Types
Phillips, flathead, Torx, square-drive, and hex screws require matching bits. Using the correct bit improves grip and control.
- ✦ Phillips
The most common cross-shaped screw type.
- ✦ Torx
Star-shaped screws often found in electronics and construction.
Step-by-Step Instructions for How to Unscrew With a Power Drill
The easiest way to learn how to unscrew with a power drill is to follow a simple process. Taking a few extra seconds to set up the drill correctly can prevent mistakes.
Work slowly at first. Speed can increase after the screw begins moving.

- ✦ Step 1
Insert the correct driver bit into the drill.
- ✦ Step 2
Switch the drill to reverse mode.
- ✦ Step 3
Place the bit firmly into the screw head.
- ✦ Step 4
Apply steady pressure and squeeze the trigger slowly.
- ✦ Step 5
Continue until the screw is completely removed.
Maintaining Proper Alignment
Keep the drill straight and centered. Tilting the drill can cause the bit to slip and damage the screw.
- ✦ Straight Angle
Improves bit engagement and grip.
Best Drill Settings for Removing Screws
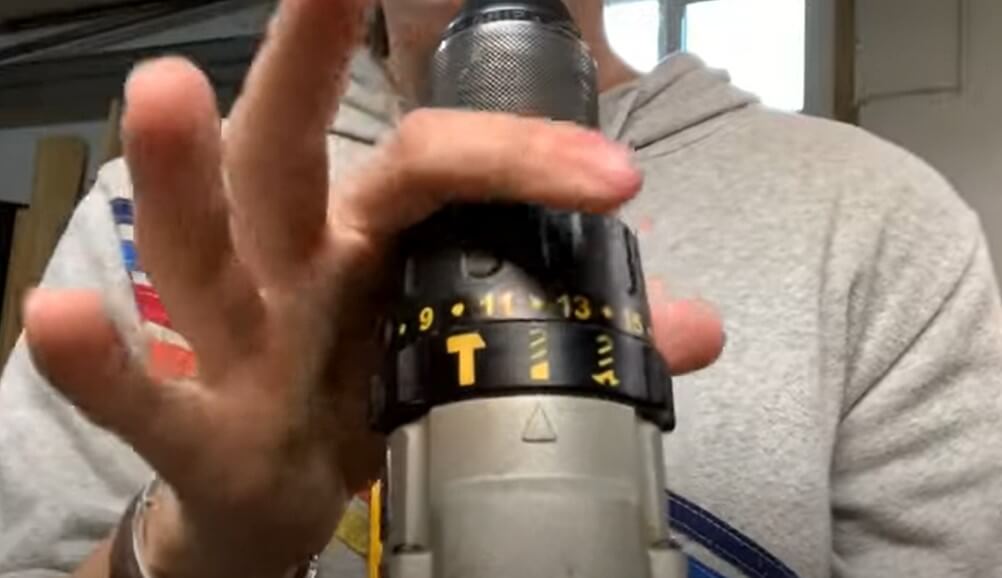
Choosing the right settings makes a big difference when learning how to unscrew with a power drill. Many drills include adjustable speed and clutch settings.
Low speed provides more control. High speed can increase slipping and damage.
- ✦ Reverse Rotation
Essential for screw removal.
- ✦ Low Speed
Provides better control and reduces stripping.
- ✦ Light Trigger Pressure
Helps start removal smoothly.
Using the Clutch Correctly
A moderate clutch setting can help prevent sudden slipping. Different materials may require different clutch levels.
- ✦ Wood Projects
Often require lower clutch settings.
How to Remove Stuck or Stripped Screws
Sometimes a screw refuses to move. This is common with rusted fasteners, painted-over screws, or damaged heads.
When learning how to unscrew with a power drill, it is important to know a few recovery methods for difficult situations.
- ✦ Apply More Pressure
Press firmly into the screw head to improve grip.
- ✦ Use Penetrating Oil
Helps loosen rusted or seized screws.
- ✦ Try a New Bit
A fresh bit often improves engagement.
Removing a Stripped Screw
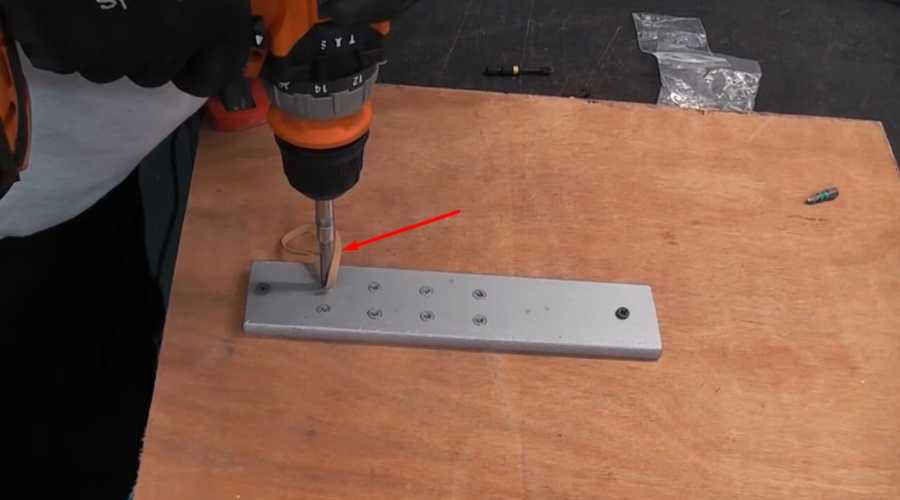
Use a screw extractor, a rubber band between the bit and screw, or specialized removal bits. Work slowly to avoid making the damage worse.
- ✦ Extractor Kit
Designed specifically for damaged screws.
Common Mistakes to Avoid
Many beginners struggle with how to unscrew with a power drill because of a few simple mistakes. Fortunately, they are easy to avoid.
Good technique protects both the screw and the surrounding material.
- ✦ Wrong Bit Size
Leads to slipping and stripped screw heads.
- ✦ Too Much Speed
Reduces control and increases damage risk.
- ✦ Poor Alignment
Causes the bit to jump out of the screw.
Why Patience Matters
Slow and steady removal is usually faster than fixing a damaged screw. Taking your time often prevents bigger problems.
- ✦ Controlled Removal
Produces cleaner and safer results.
Safety Tips When Using a Drill for Screw Removal
Safety should always come first when learning how to unscrew with a power drill. Even simple jobs can create flying debris or sudden tool movement.
Inspect your drill before use and keep your work area clear.
- ✦ Wear Eye Protection
Protects against metal or wood fragments.
- ✦ Secure the Workpiece
Prevents movement during removal.
- ✦ Check Battery Charge
Ensures consistent drill performance.
When to Stop and Reassess
If a screw starts stripping or the bit keeps slipping, stop immediately. A different bit or technique may be needed.
- ✦ Avoid Force
Excess force often creates more damage.