
How to Use a Cordless Drill Driver: Complete Beginner-Friendly Guide
Learning how to use a cordless drill driver is one of the most valuable DIY skills for homeowners. A cordless drill driver can help you assemble furniture, hang shelves, build projects, and complete repairs around the house.
Over the years, I have used cordless drills for everything from simple wall anchors to outdoor deck projects. The biggest lesson I learned is that success comes from using the correct settings and taking your time. Once you understand the basics, using a drill driver becomes easy and enjoyable.
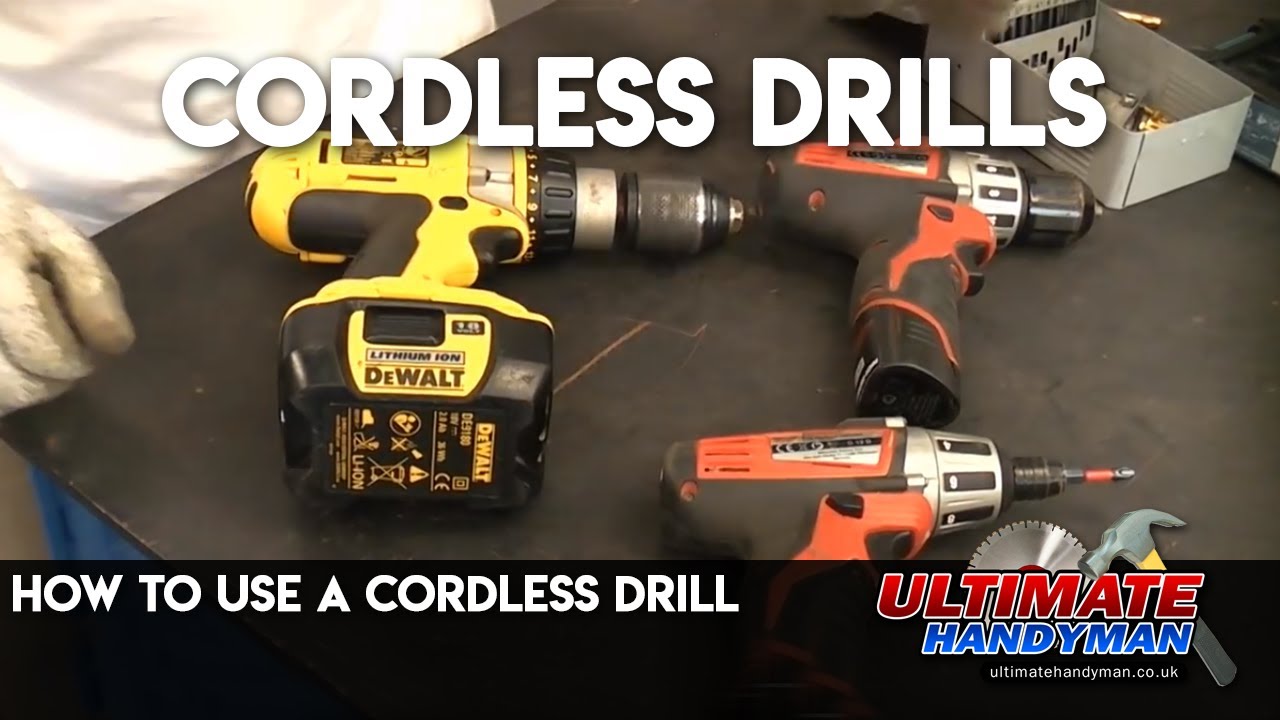
What Is a Cordless Drill Driver?
A cordless drill driver is a battery-powered tool that drills holes and drives screws. It combines two common tasks into one compact tool.
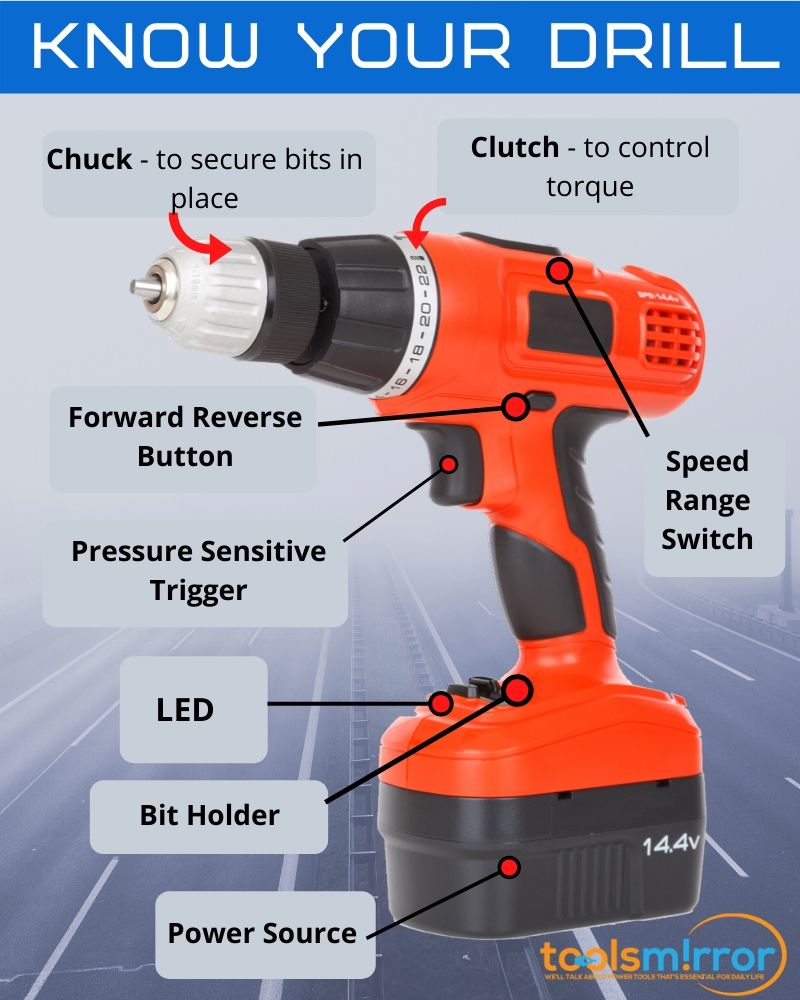
When learning how to use a cordless drill driver, it helps to understand that drilling creates holes while driving inserts or removes screws. Most modern models switch between these functions quickly.
- ✦ Drilling Function
Creates holes in wood, plastic, metal, and other materials.
- ✦ Driving Function
Installs or removes screws and fasteners.
- ✦ Cordless Design
Runs on rechargeable batteries for portability and convenience.
Why Homeowners Use Cordless Drill Drivers
Cordless drill drivers are easy to carry and use. They work well for home repairs, woodworking projects, furniture assembly, and general maintenance.
- ✦ Portable
No power cord limits your movement.
- ✦ Versatile
One tool handles many household tasks.
Know the Main Parts Before You Start
Before mastering how to use a cordless drill driver, spend a few minutes learning the controls. Understanding each part makes the tool safer and easier to operate.
Most cordless drill drivers have similar layouts regardless of brand. Once you learn one model, you can usually use others with confidence.
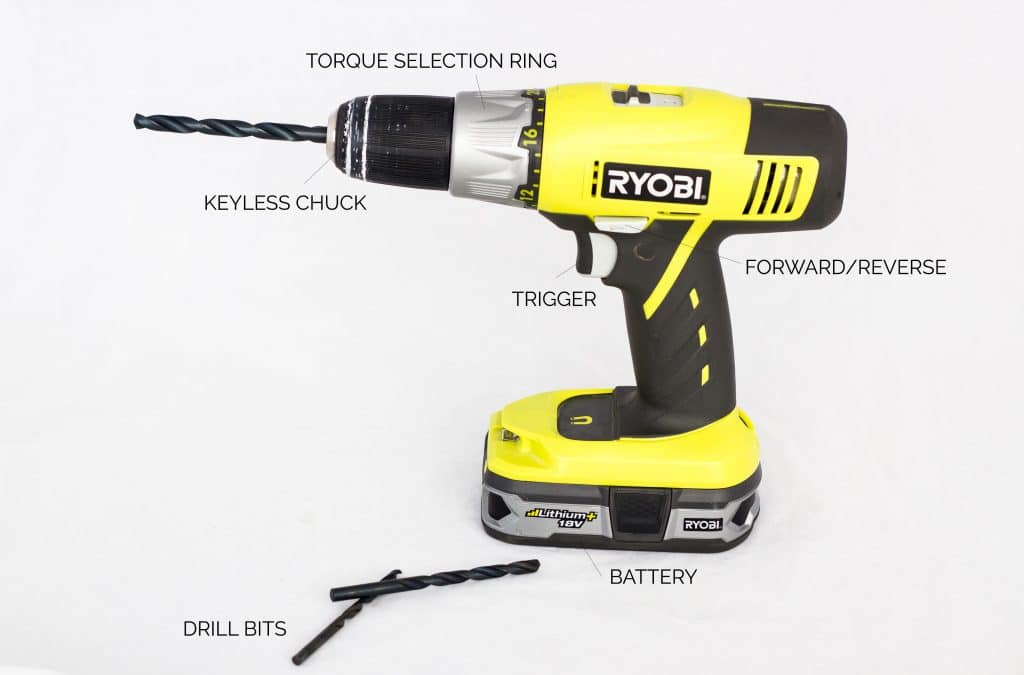
- ✦ Chuck
Holds the drill bit or driver bit.
- ✦ Trigger
Controls speed and power.
- ✦ Clutch
Limits driving force to prevent over-tightening.
- ✦ Forward and Reverse Switch
Changes rotation direction.
Understanding the Clutch
The clutch is one of the most useful features. Lower numbers reduce driving force, while higher numbers increase it. This helps protect screws and materials from damage.
- ✦ Lower Setting
Best for delicate work and small screws.
- ✦ Higher Setting
Best for larger screws and tougher materials.
How to Use a Cordless Drill Driver Step by Step
The easiest way to learn how to use a cordless drill driver is to follow a simple process. These steps work for most common DIY projects.
Always check that the battery is charged and the workpiece is secure before starting.
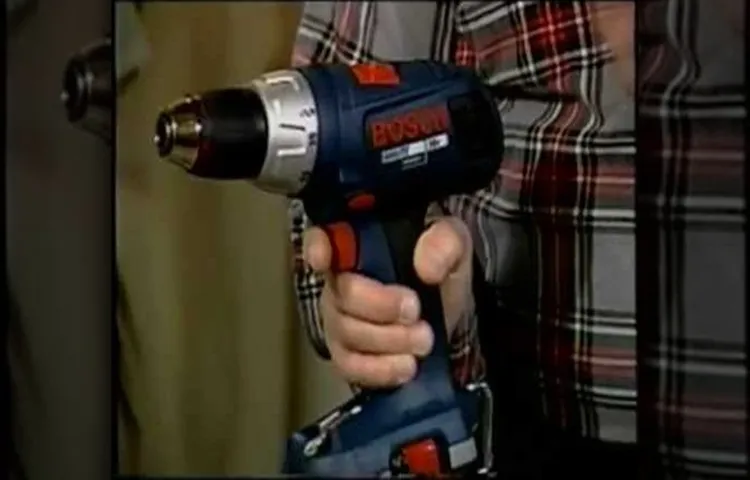
- ✦ Step 1
Insert a fully charged battery.
- ✦ Step 2
Choose the correct bit.
- ✦ Step 3
Tighten the chuck securely.
- ✦ Step 4
Select forward rotation.
- ✦ Step 5
Position the bit and begin slowly.
Proper Body Position
Keep both feet stable and hold the drill with a firm grip. Align the bit straight with the work surface to improve accuracy.
- ✦ Stay Balanced
Avoid awkward positions when drilling.
- ✦ Apply Steady Pressure
Push gently without forcing the tool.
How to Drill Holes Correctly
A major part of learning how to use a cordless drill driver is understanding drilling technique. The correct method produces cleaner holes and protects drill bits.
Mark the drilling location first. Start slowly to create a guide point before increasing speed.

- ✦ Use the Right Bit
Match the bit to the material.
- ✦ Start Slowly
Prevent the bit from slipping.
- ✦ Keep the Drill Straight
Improve accuracy and hole quality.
Drilling Through Different Materials
Wood usually drills easily. Metal often requires slower speeds. Masonry may require a hammer drill function and specialized bits.
- ✦ Wood
Use moderate speed and steady pressure.
- ✦ Metal
Use slower speeds and cutting oil when needed.
How to Drive Screws Like a Pro
Many people search for how to use a cordless drill driver because they want to install screws quickly and cleanly. Driving screws is often easier than drilling once you understand the settings.
Choose the correct driver bit and set the clutch appropriately. Start slowly and increase speed as the screw enters the material.

- ✦ Match the Bit
Use the correct Phillips, Torx, square, or flat bit.
- ✦ Set the Clutch
Prevent stripped screws and damaged surfaces.
- ✦ Drive Straight
Keep the screw aligned during installation.
Removing Screws
Switch the drill to reverse mode. Apply firm pressure and run the tool slowly until the screw backs out.
- ✦ Reverse Direction
Turn the switch before removing screws.
Common Mistakes to Avoid
Even experienced DIY users make mistakes. Avoiding common errors can make learning how to use a cordless drill driver much easier.
Most problems come from incorrect bits, poor alignment, or excessive force.
- ✦ Using the Wrong Bit
Can damage screws and materials.
- ✦ Applying Too Much Pressure
Can cause slipping and poor results.
- ✦ Ignoring the Clutch
May lead to overdriven screws.
- ✦ Working Too Fast
Reduces control and accuracy.
Why Patience Matters
One lesson I learned early was that slower starts create better results. Taking a few extra seconds often prevents mistakes that take much longer to fix.
- ✦ Control
Slow operation improves accuracy.
Safety Tips When Using a Cordless Drill Driver
Safety should always come first when learning how to use a cordless drill driver. A few simple habits can prevent injuries and improve results.
Inspect the tool before use and work in a clean, well-lit area.

- ✦ Wear Safety Glasses
Protect your eyes from debris.
- ✦ Secure Materials
Prevent movement during drilling.
- ✦ Check the Bit
Ensure it is tightened properly.
- ✦ Remove the Battery
Do this before changing bits.
Battery Care Tips
Store batteries in a cool, dry place. Follow manufacturer charging instructions to extend battery life.
- ✦ Avoid Extreme Heat
High temperatures can reduce battery performance.